
-
Archives
- November 2020
- October 2020
- June 2020
- April 2020
- February 2018
- May 2017
- March 2017
- January 2017
- December 2016
- September 2016
- August 2016
- July 2016
- June 2016
- May 2016
- April 2016
- March 2016
- November 2015
- October 2015
- August 2015
- May 2015
- April 2015
- March 2015
- January 2015
- December 2014
- November 2014
- October 2014
- September 2014
- August 2014
- July 2014
- June 2014
- May 2014
- April 2014
- March 2014
- February 2014
- January 2014
- December 2013
- November 2013
- October 2013
- September 2013
-
Meta
Category Archives: Hosting
patio party + summer cocktail recipes
This past weekend was quite possibly the most beautiful few days we’ve had all “Spring” here in DC. I hosted a patio party out back complete with summer cocktail tastings.
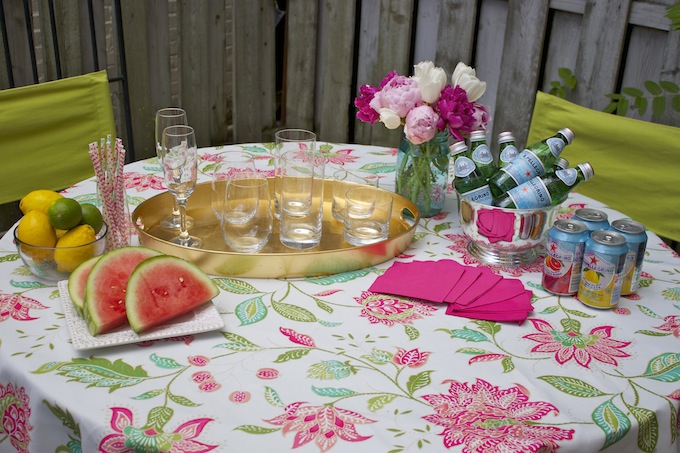
With Memorial Day weekend just a few days away, I thought it could not be a better time to try out some new recipes for this upcoming summer.
I set up my outdoor patio table with a variety of cocktail glasses, mini San Pellegrinos, colorful paper straws and cocktail napkins, and yes – my new favorite tablecloth from Cynthia Rowley.
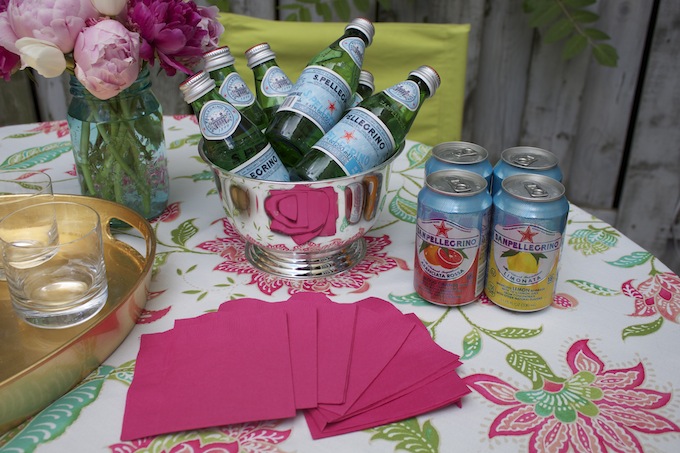
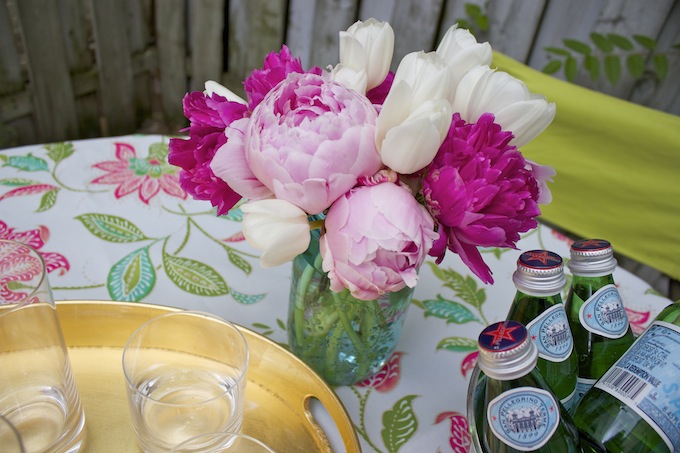
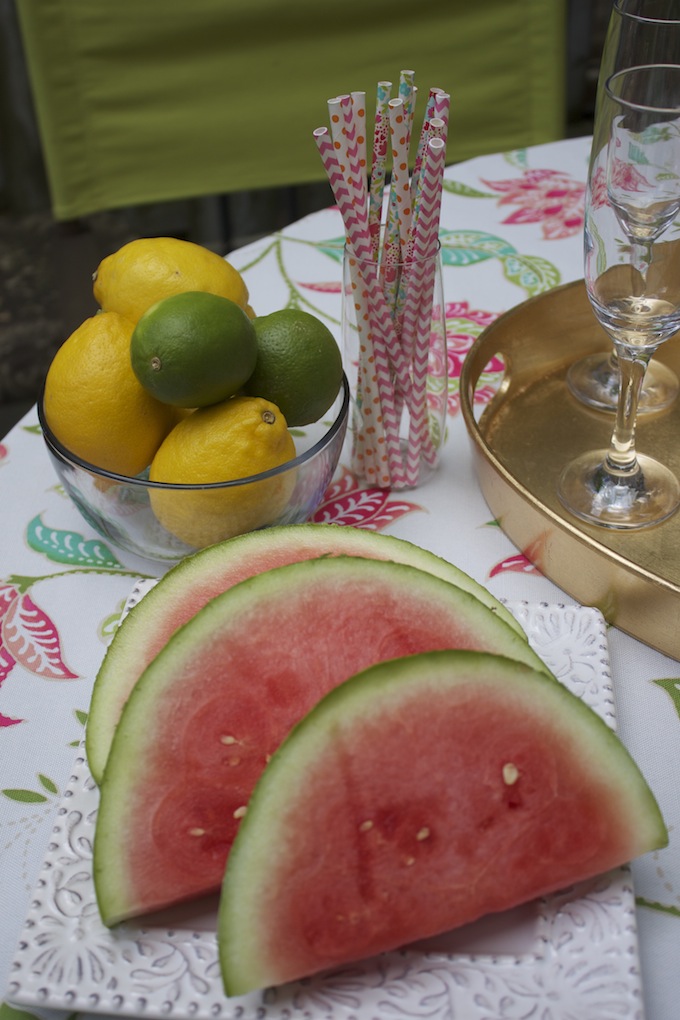
{Tablecloth // Blue Mason Jar // Paper Straws // Serving Tray (similar here) // Ice Bucket (similar here) // Cocktail Glasses // Patio Furniture}
To host a patio party – you also need 3 more things; fresh flowers (tis the season for peonies!), cooperating weather and a handful of recipes (bright colors are also strongly encouraged).
Fruit Infused Water
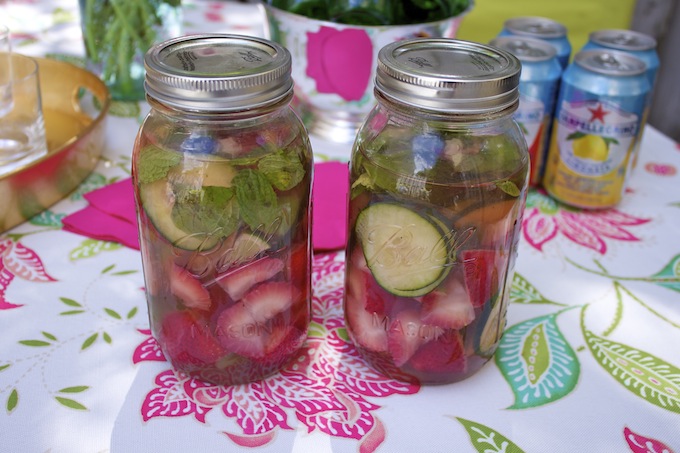
Ingredients:
- sparkling or regular water
- fresh mint leaves
- sliced cucumbers
- strawberries
- limes
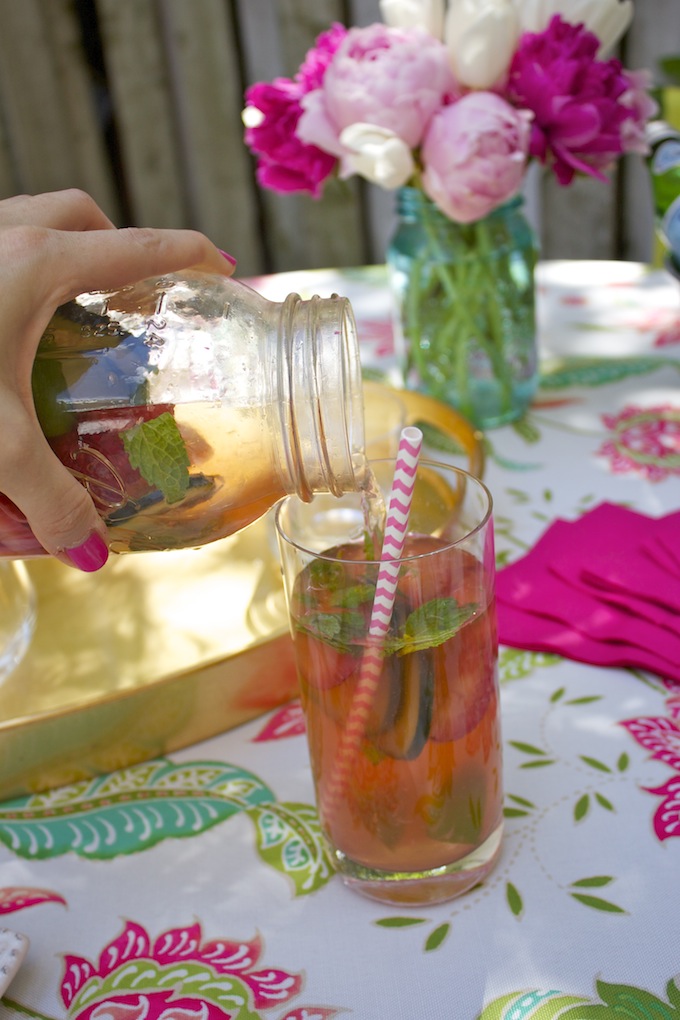
Tips: I made these the night prior in large mason jars that I kept cold in the fridge. They are quite refreshing and help you and your guests stay hydrated for an afternoon of cocktail tasting. Serve with a colorful straw and refill as needed.
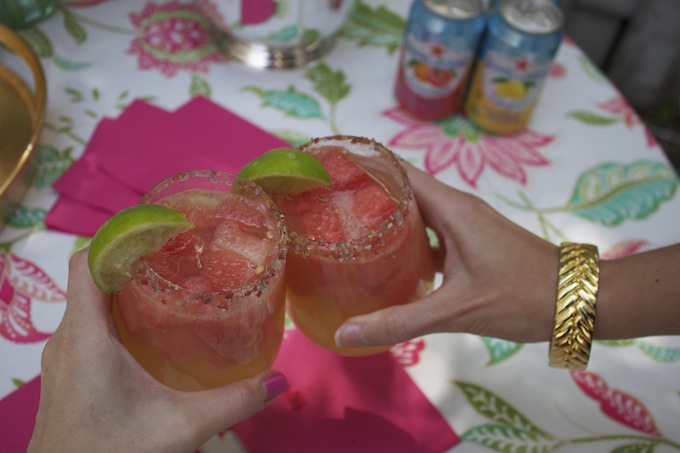
Watermelon-Orange Margaritas
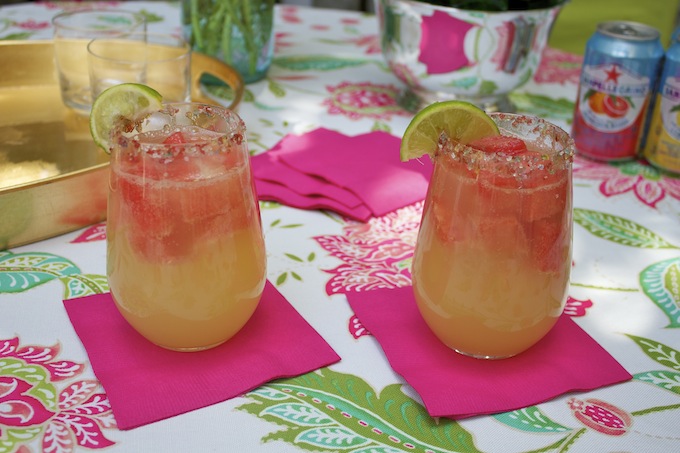
Ingredients:
- 1 cup of fresh cubed watermelon
- 1.5 ounces of your tequila of choice (I chose Patron)
- freshly squeezed lime juice (1.5 limes)
- splash of San Pellegrino Orange soda (to taste)
- splash of lemon-lime soda water (to taste)
- spoonful of sugar
- rainbow colored sugar (for the rim a la Dean & Deluca)
- sliced limes (for garnish)
Tips: If you’re hosting a party with a variety of drinks, buy airplane bottles of your favorite liquors. They are perfect for tastings and help you measure out cocktails appropriately. Also, you can splurge a little more by doing so (a la Patron) and not buy an entire bottle.
Cucumber Melon Mint Sangria
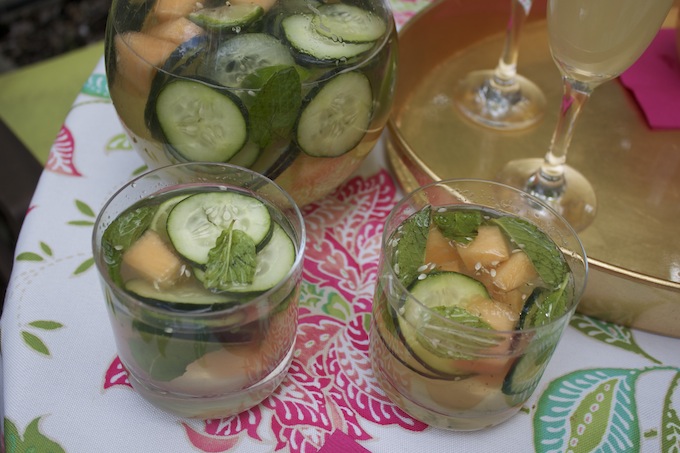
Ingredients (pitcher-sized):
- 1 bottle of sauvignon blanc or pinot grigio
- 1.5 large cucumbers (sliced)
- 12 mint leaves
- sliced limes
- 2 cups of cubed honey melon
- 1 cup of lemon-lime soda water
- 4 spoonfuls of sugar (or more, to taste)
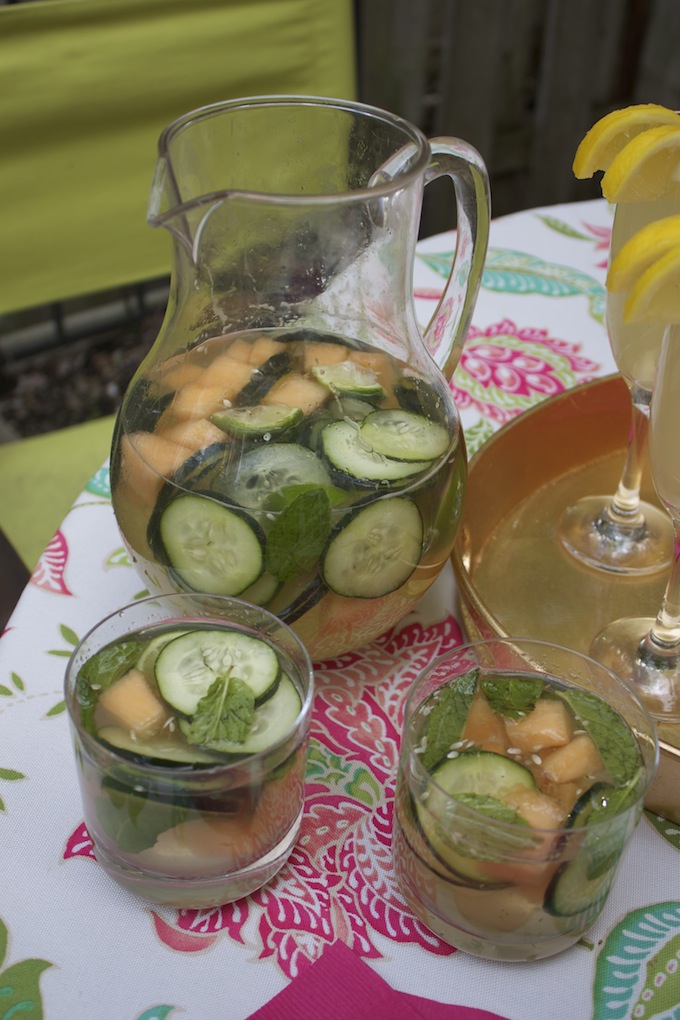
Tips: Make ahead of time and store in the fridge to let the wine soak up the fruits and veggies. Sangria is all about taste so use the recipe above and mix to your liking. Also, this is not your traditional sangria – it’s quite refreshing and even those that do not normally enjoy white wine loved this one! You can also make this sans alcohol and use soda or sparkling water instead.
Adult Lemonade
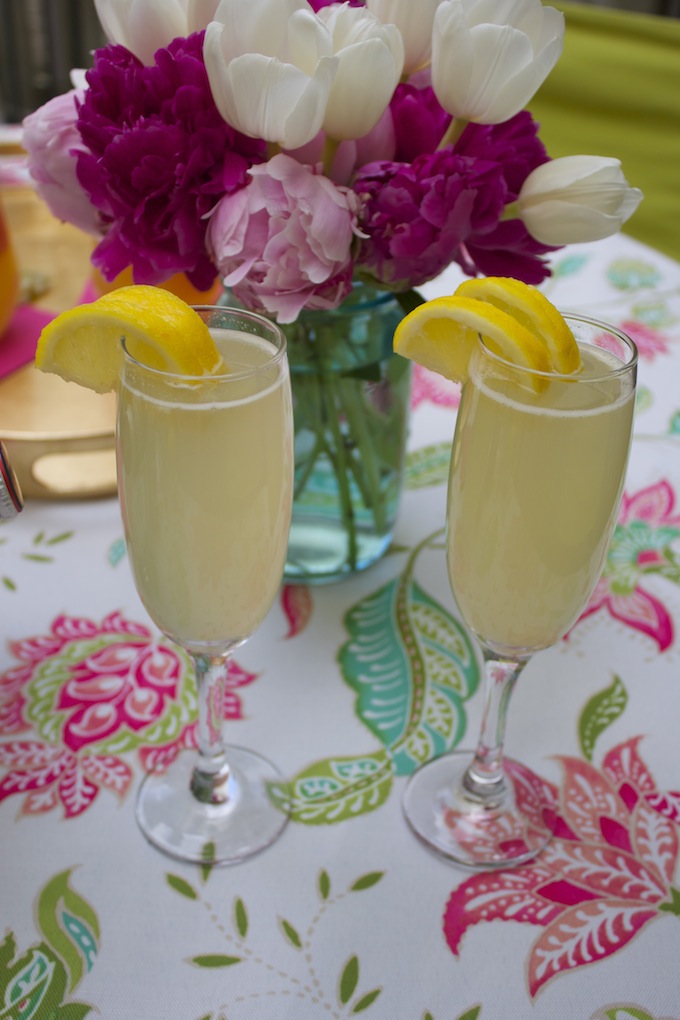
Ingredients:
- freshly squeeze lemons (1.5 or so for each)
- 2 spoonfuls of sugar
- 1.5 ounces of vodka
- splash of lemon San Pellegrino soda
- sliced lemons (to garnish)
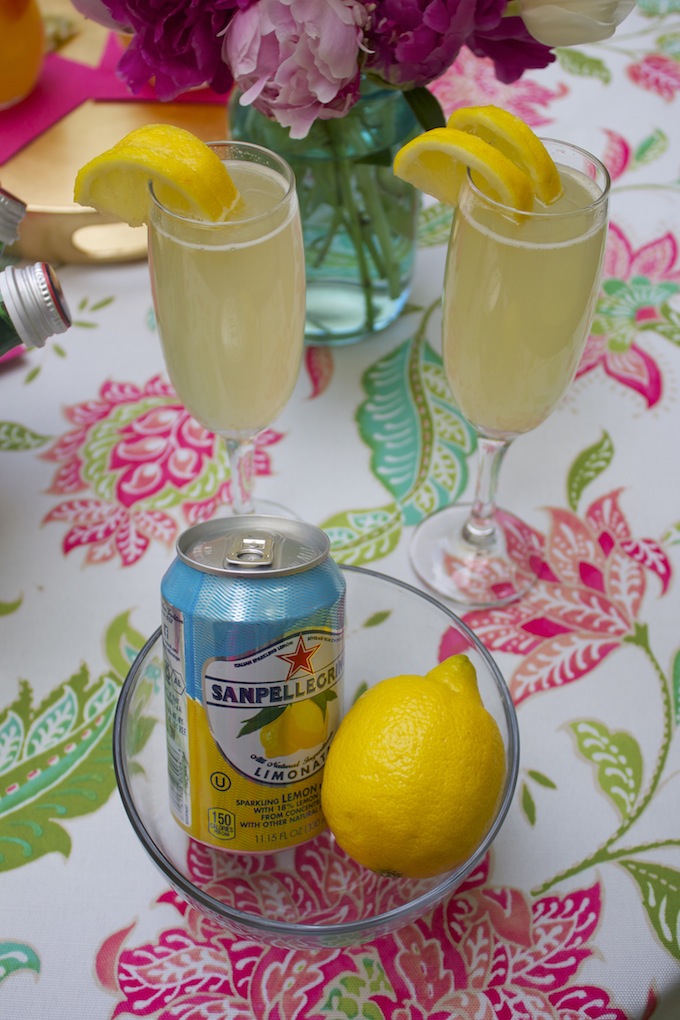
Tips: This is a twist on homemade lemonade and also is “to taste”. It’s up to you how many Mary Poppins you add (i.e. spoonfuls of sugar). Also, be sure to chill your vodka ahead of time.
Now I know that the official day of summer is not until June – but who’s waiting until then to celebrate? Summer begins this weekend if you ask me!
So go out and host & toast!
 Cheers!

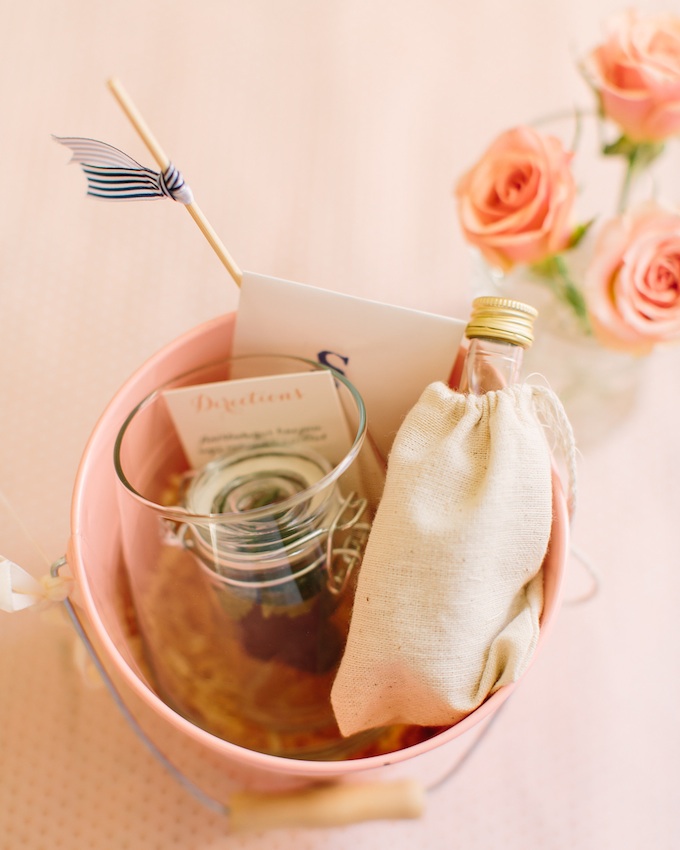
sips and supper dinner party
This week, I am sharing with you a gorgeous dinner party that my friends at Commerce Street Events hosted. It is “H&T approved” and I hope inspires you to throw your own!
Below is a recap of Sips & Supper!
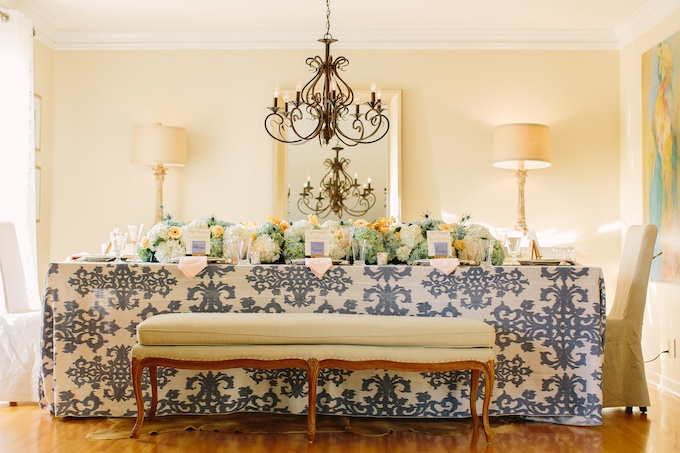
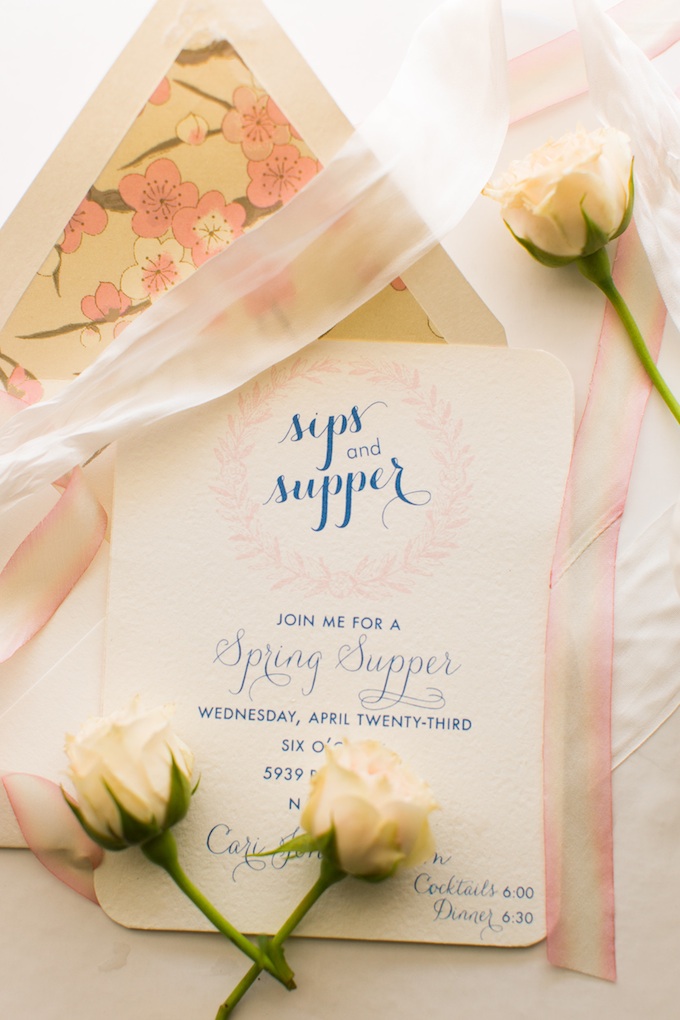
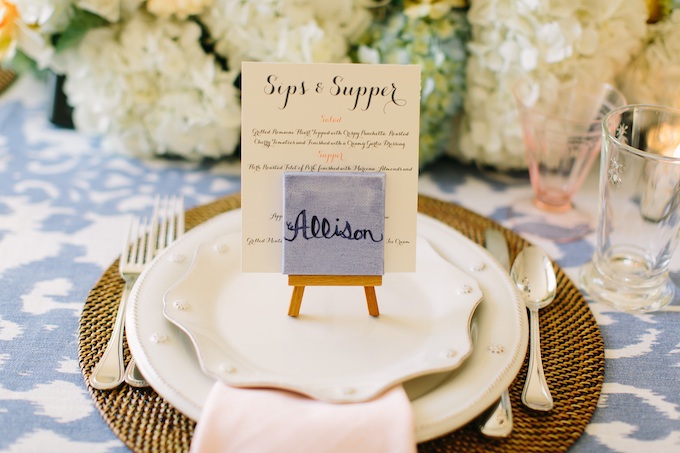
With spring in the air it was the perfect time to have a blooming affair. We had the pleasure of styling this lovely table for a spring in-home dinner party. Each guest received a hand delivered invitation with fresh flowers and hand dyed silk ribbon. From the start, we wanted to create a very personalized experience for the guests. Since this was a smaller event, the little details made a big impression.
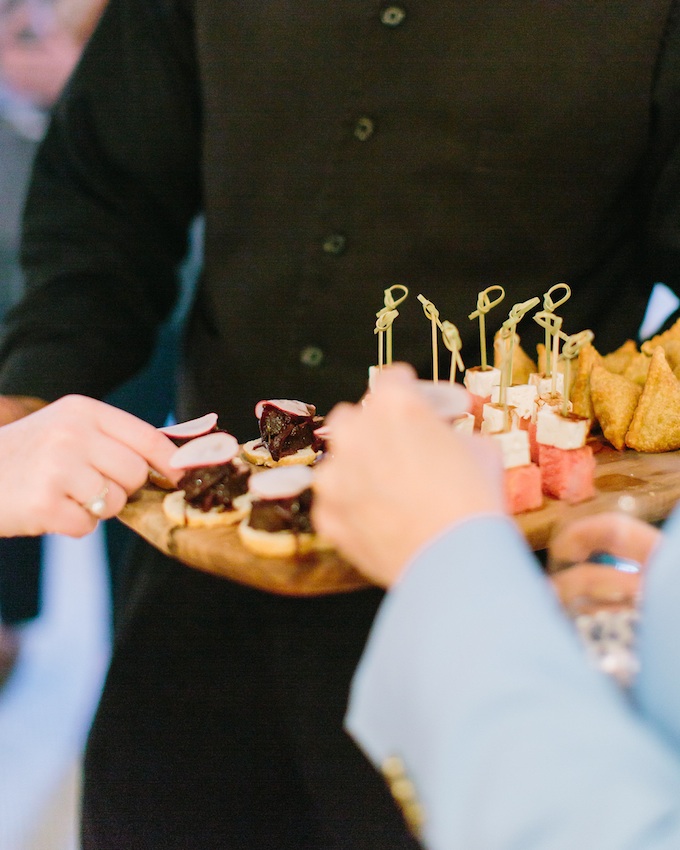
Shades of blue combined with pops of pink were the perfect color selections for this seasonal affair. Our team mixed pieces from the client’s grandmother’s vintage collection along with fresh finds to fashion a new budget friendly look. The grandmother’s blush depression glass was a favorite amongst the crowd. The florist created a long arrangement of florals for the centerpiece that included hydrangeas and peonies.
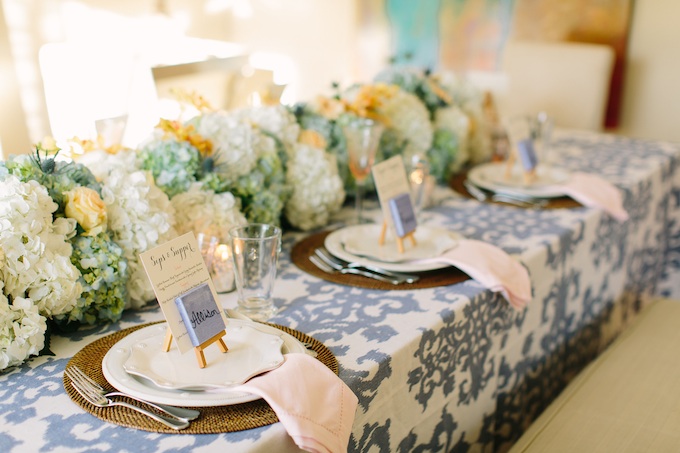
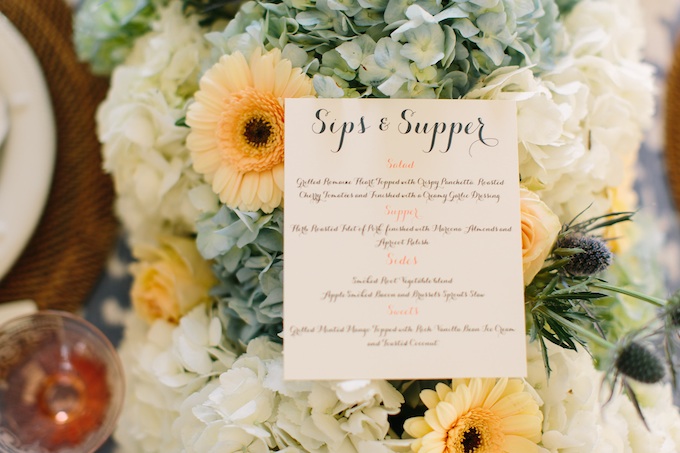
After cocktail hour, guests found personalized mini easels at each place setting. Even the caterer was on board with incorporating fresh spring flavors in the menu. Conversation kept going as drinks were flowing through the evening. Guests were able to pick up a make-your-own-mojito kit on the way out to keep the party flowing even at home.

Tip for a Spring Soirée:
- Fresh blooms are a must for any spring bash.
- Creative hand delivered invitations will intrigue your guests and leave them feeling special.
- Mixing your own china and décor with new finds is a great way to freshen up your table.
- Festive music will keep the party lively. Our favorites include: Frank Sinatra, Michael Buble, Billie Holiday, and Ray LaMontagne.
Stay tuned for a “how-to” on their make-your-own-mojito kit (read: party favor) which was H&T inspired!
Sips & Supper Vendors:
Event Styling and Production: Commerce Street Events // Venue: Private Nashville Residence // Photography: Rachel Moore Photography // Florals: Oshi Flowers // Catering: Catering & Events by Suzette // Invitations: Ink Nashville // Linen: La Tavola Fine Linen
Spring Brunch Checklist
I’ve hosted a brunch or two in my day and what I love most about it is coming up with something new and fresh each time – switching things up a bit! A new theme, a new menu, drink of choice, decor or all of the above. There are so many different ways to “brunch”.
Being the “Type A Hostess” that I am, I am ALWAYS making checklists for both my daily life and most certainly when I’m entertaining at home. That’s why I love this little checklist/cheat sheet that ProFlowers put together for a Spring Brunch!
I’m hoping to put it to good use myself as I am in the midst of planning a little patio get together that you will no doubt see highlighted here on H&T (spoiler alert!).

See more details on the checklist including florals AND recipes HERE.
Happy Brunching!
The Cocktail Cart Curator with Society Social!
I was so honored when Roxy from Society Social asked me to be their next “Cocktail Cart Curator” for their Social Diary blog! I met Roxy a few months ago officially at an event we co-hosted together in DC for Tuckernuck and she is as sweet as can be!
My inspiration for this bar cart encompasses one of my favorite celebrations to host; a Spring brunch! Whether it’s Easter Sunday or just a sunny-filled April Saturday afternoon, these are my essentials in putting together a casual, yet elegant-like brunch with close friends. From grocery shopping with my tote and prepping in the kitchen to mixing rose-orange mimosas with striped straws in heels, you’ll find me enjoying every minute of it. Hopefully this inspires you to do the same!

{Image via Society Social}
Shop The Cart Below!
The Sedgewick/ Pink Paper Straws/ Bow Bottle Stopper/ Recipe Box/ Going To Market Tote/ Fresh Tulips/ Rewined “Mimosa” Candle/ Ban.Do “Party” Clip/ Cocktail Napkins/Brunch Dress/ Necklace/ Go Vino Champagne Flutes/ Sunday Shoes/Monogram Cutting Board
P.S. The dress above was my birthday dress!
- 4 Comments posted in DIY, Events, Fashion, Guest Post, Hosting, Recipe, Toasting
-


floral design: DIY, tips & tricks
A few weeks ago, I mentioned that I would be taking a floral design class in early April. Well, today I’m here to give you a complete recap along with some tips and tricks that I learned earlier this week!
I had reached out to Helen Olivia Flowers and their owner, Rachel, a few months ago about setting up a private workshop for my colleagues (fellow event planners) and I. Well, we could not have been more pleased with her custom evening workshop that she put together for us.
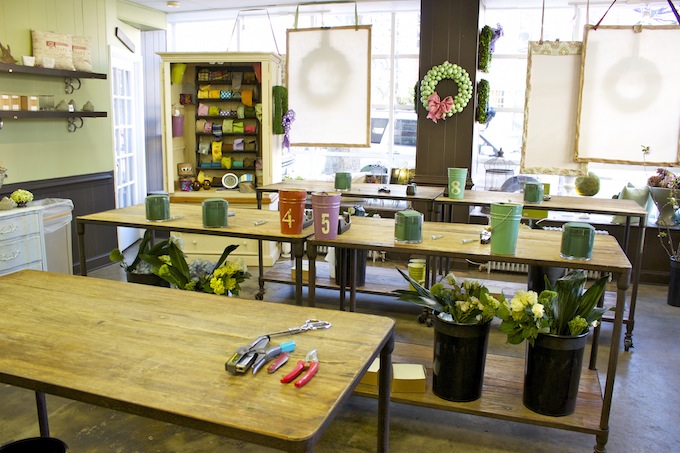
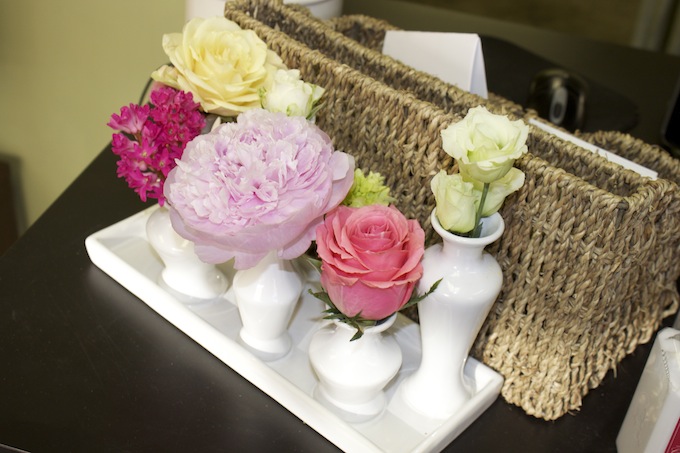
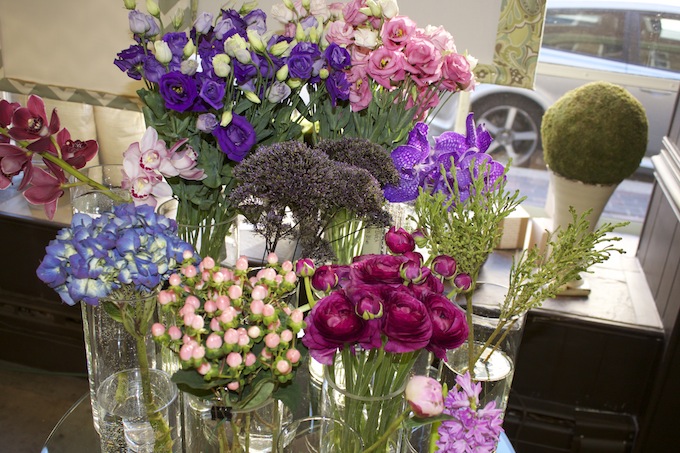
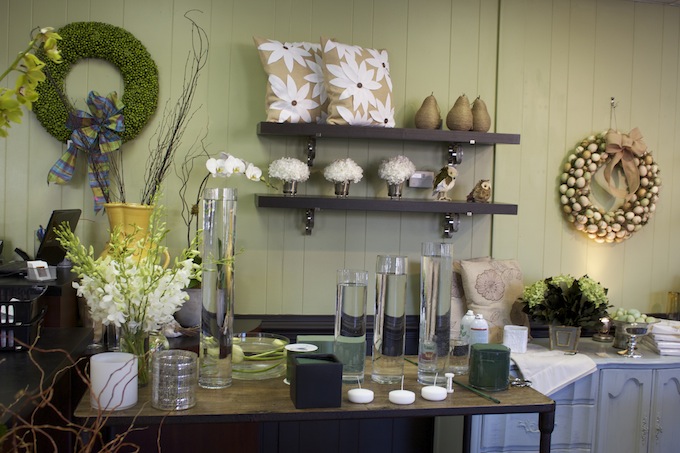
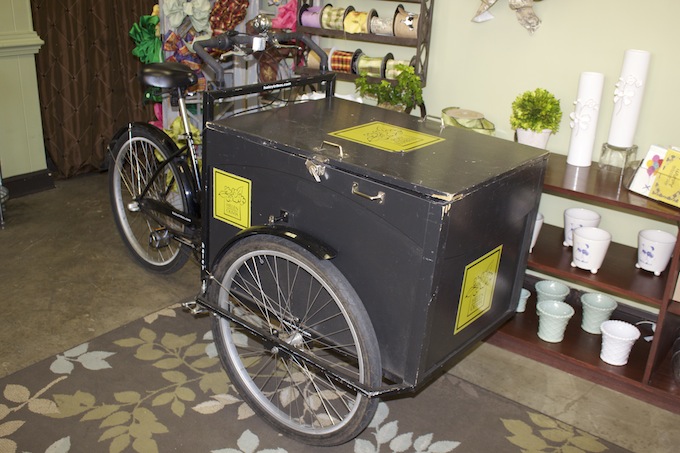
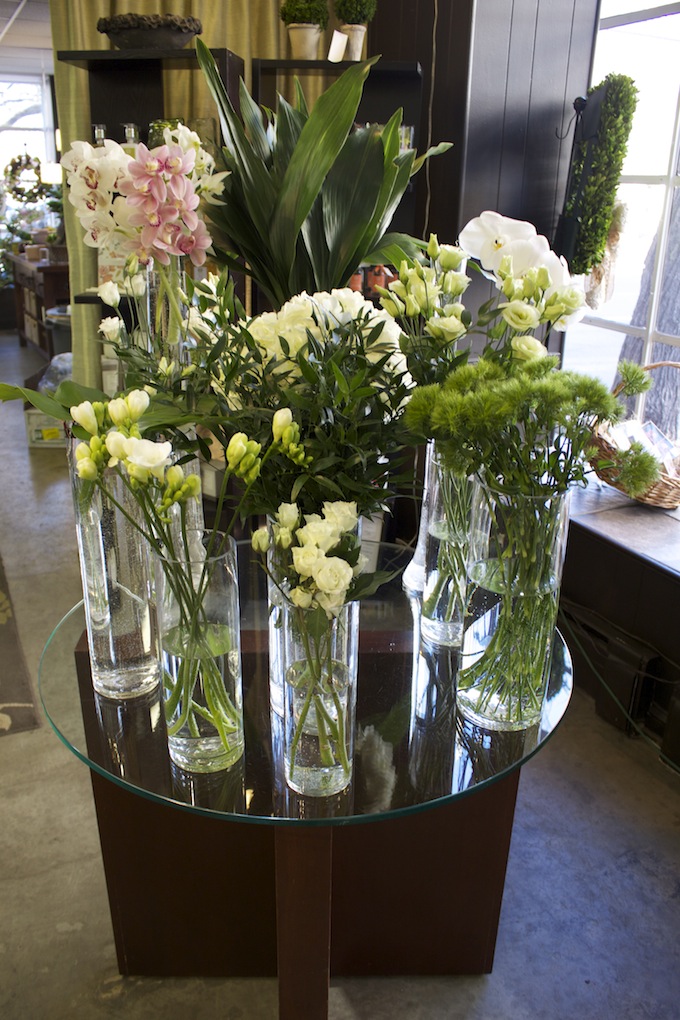
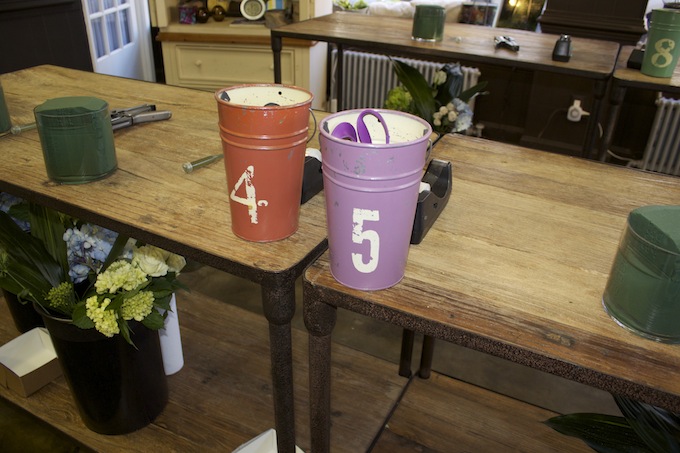
When we walked into Helen Olivia’s shop, tucked away in the quaint neighborhood of Old Town Alexandria, I was immediately in love. Big sunny open windows, floral arrangements galore, a natural “air freshner” of blooms, a “bud bar” and the most darling little numbered workshop space I’ve ever seen. I could not get enough. They even had a little bike on display (read: delivery truck). If you are ever in the area, you must stop in for a visit – you can purchase single flowers for DIY projects as well as soaps and other gifts. Helen Olivia is also known for their ribbon wrapped vases (which I learned how to do properly too).
We started off the evening (after consuming far too much cheese and sparkling orange blood soda) with a few easy and quick DIY arrangements that event planners and hostesses alike could put together at home or before a big event. They look professional and polished but easy to complete for any skill level!
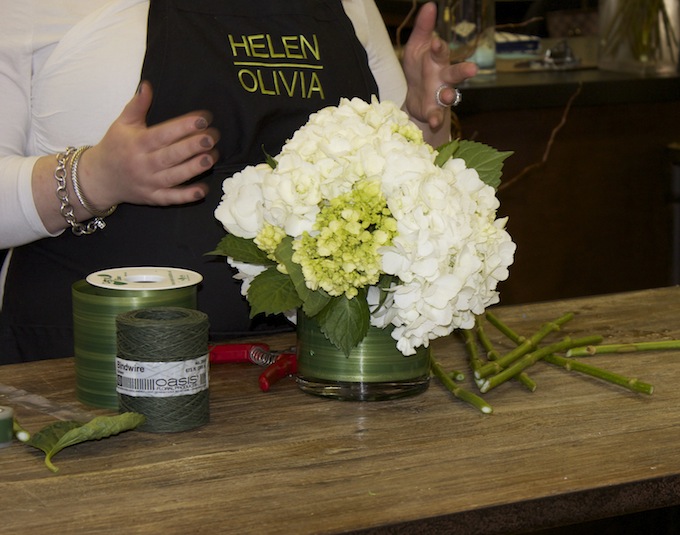
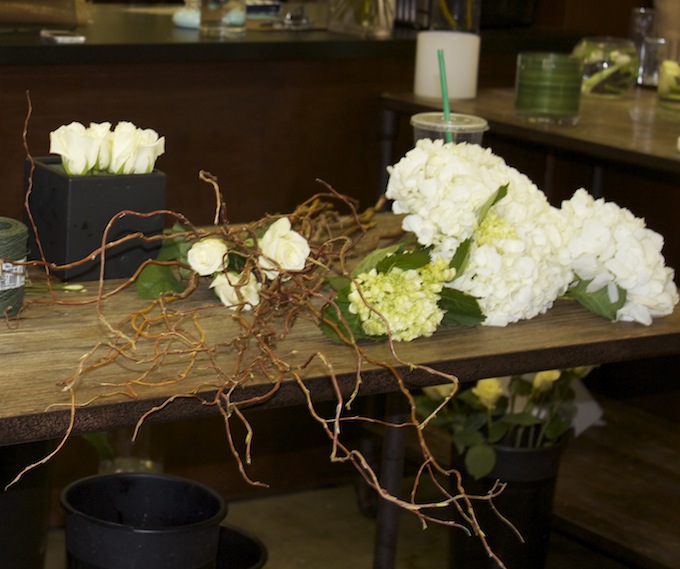
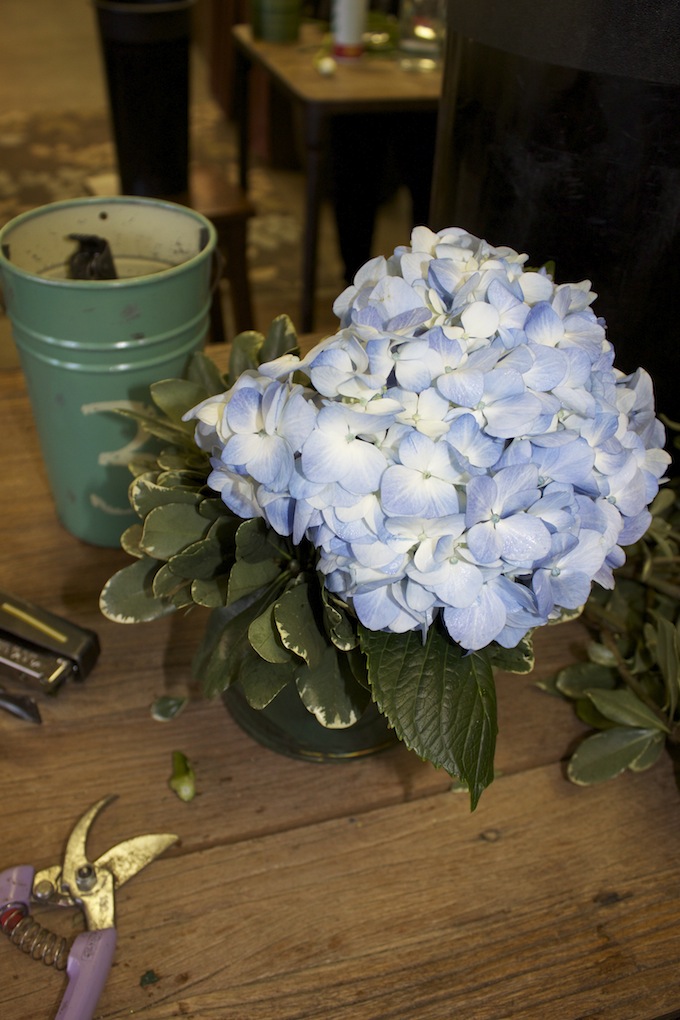
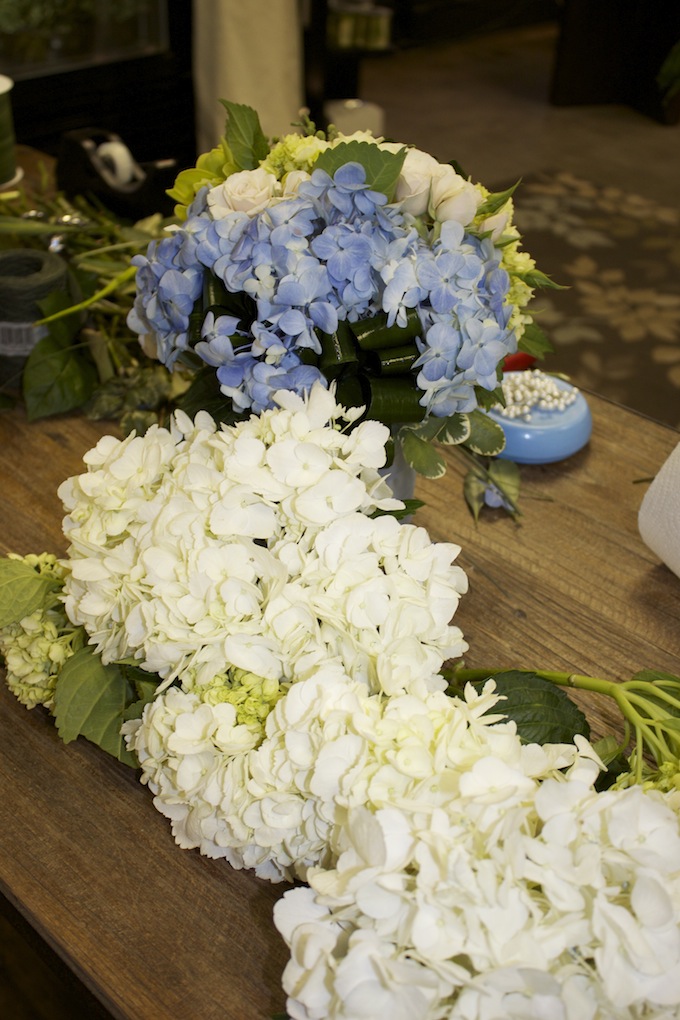
1. Hydrangeas + Hand Tying Technique
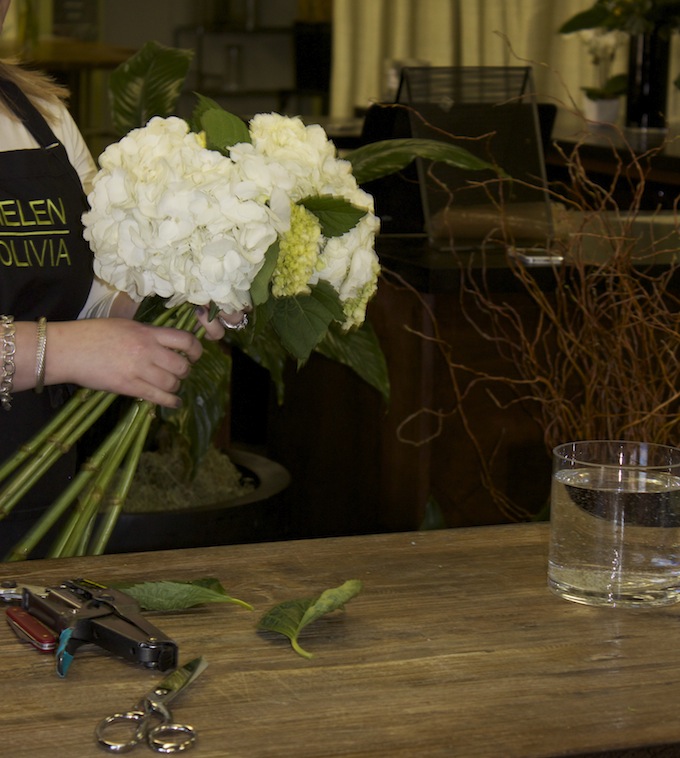
Hydrangeas can be a pain to arrange (I know, I put them together for my End of Summer Shrimp Boil last year). They are also so top heavy that they often end up falling over in a variety of vases. Well, Rachel taught us to to arrange these beauties (who’s name comes from the word “hydrate”, duh) with a hand tying technique. The key is to tie them together with bindwire or floral tape BEFORE you put them in the vase. This allows them to stand up. They were also wrapped in a leaf ribbon to cover up the floating stems in the water.
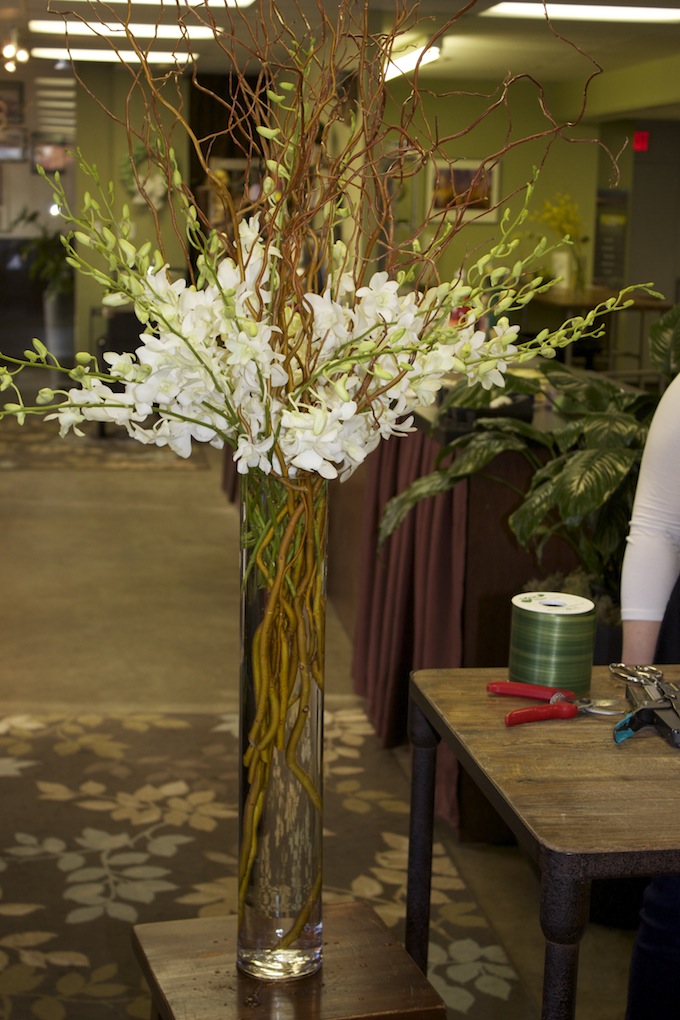
2. Tall Centerpieces

The next type of DIY arrangement we learned about was assembled with curly willow (yes, those long swirly-looking sticks have a name) and orchids. These were put into a 24 inch glass vase and are perfect for a food station or bar at an event especially when you’re on a budget. You could even add tealight candles to them for a special effect!
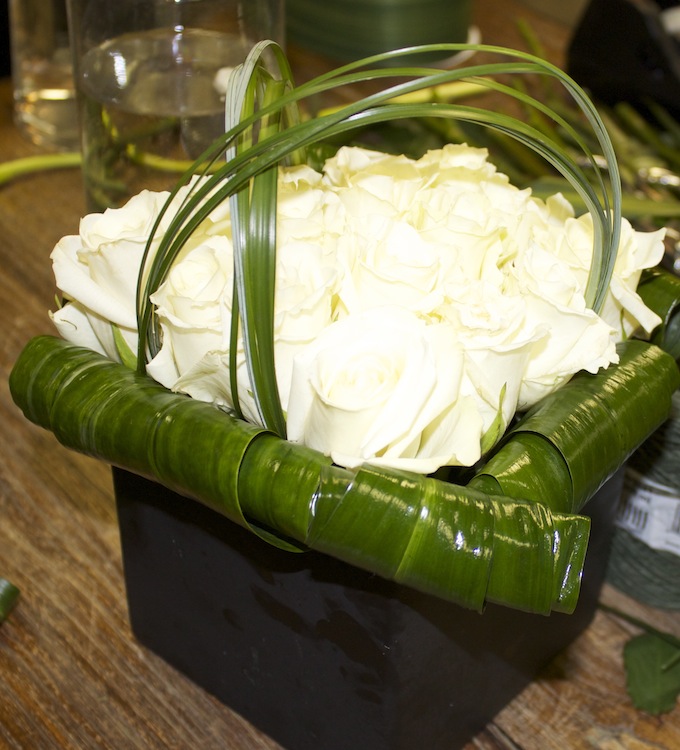
3. Pave-Style Roses
A pave-style arrangement is French for “one level”. These are my favorite item to add to cocktail tables and always look very delicate. They are also adorable to use when hosting events such as bridal and baby showers (think pink!). The roses were cut to the same level and then delicately placed in floral foam along with cigar rolled leaves for a finishing touch (and leaf polish = doesn’t hurt the leaves but makes them look super shiny!).
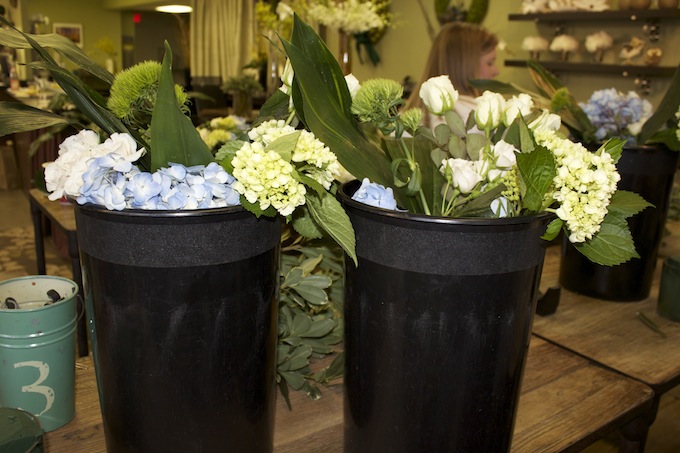
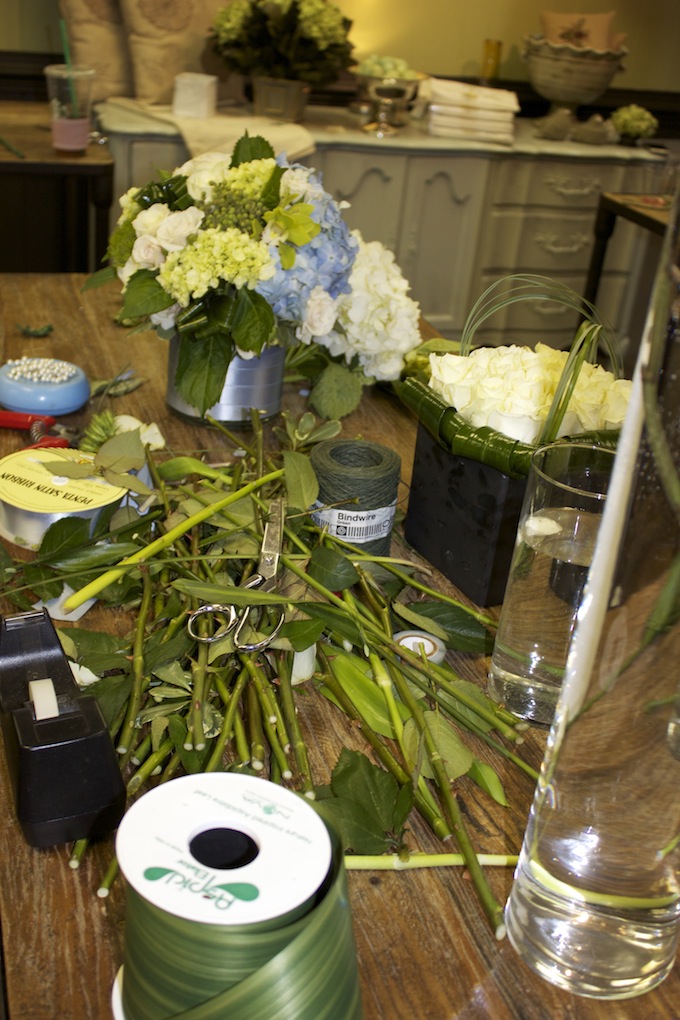
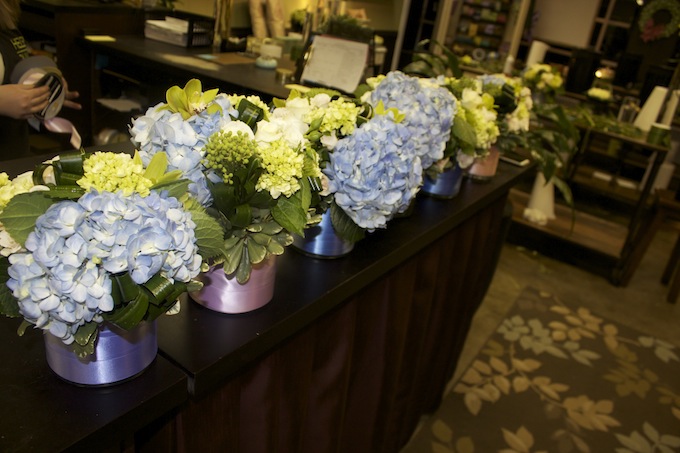
We finished the evening styling our own arrangements from large buckets of fresh blooms (my own personal dream come true). We used 5 inch cylinder vases with floral foam and water. Carefully, we placed a variety of hydrangeas, roses, greenery and the most beautiful orchid I’ve seen into our vases. We used all of Rachel’s tips and tricks for a professional-like look. One of my favorite parts of the workshop was learning how to “ribbon wrap” – which I will most certainly use in events to come. My finished product is below – not too bad, huh? It’s currently serving as a centerpiece at home to brighten up my dining room.
BEFORE
AFTER
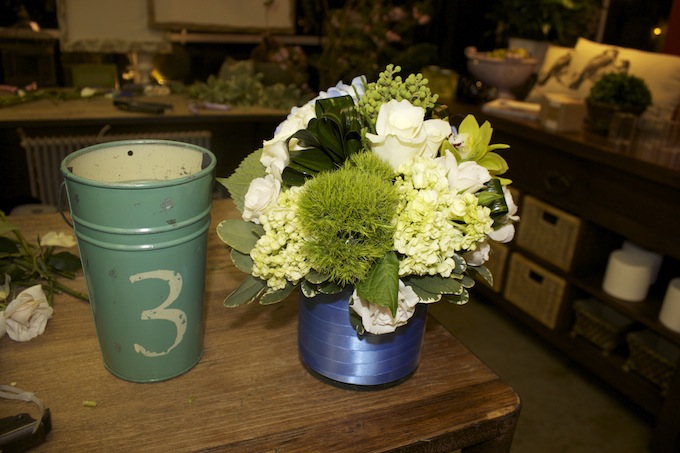
You can see how it slowly but surely came together below after much snipping, rearranging and criticizing.

Finally, I wanted to share with you a few flower myths and tips that I learned from the evening after much Q&A with Rachel (I came with lots of questions – those that know me won’t be surprised by this at all..).
- You do NOT need to cut your flowers in running water. This is a compete MYTH.
- Room temperature water is ideal for flowers. It makes no difference if it’s filtered or tap water.
- You must cut stems at an angle and regularly. The white part that shows is call the pit and this is where the flowers drink up!
- Do not use regular scissors to cut your stems. Ideally, it’s best to use shear spring-loaded tools.
- The more leaves you cut off, the more water goes to your actual blooms. This is something to keep in mind to make them last longer.
- When you buy flowers from a grocery store, they are already dehydrated – a good tip with hydrangeas is to submerge the head under luke warm water for 30 minutes after purchasing to re-hydrate them. If you ever have part of a hydrangea that “dies” before the other, it’s likely you hit a “nerve” (literally) when cutting the stems.
- Your flowers should be around the same height as your vase.
- Invest in floral tape – it’s super cheap!
- You can use a tape grid to arrange stubborn flowers (yes, scotch tape). All you have to do is tape a design over your vase and hide it with a little greenery here and there.
- Most roses come with an outer layer on that are not petals but look like them. Peel those off!
- Also, and this might be the best tip ever – BLOW on your roses. They open up right away and look much more pleasing to the eye for arrangements.
If you live in the DC area, Helen Olivia comes highly recommended by yours truly for both arrangements and workshops.They offer numerous classes throughout the year (I want to attend the peonies one!) and also do baby showers, hands-on bridal shower parties and even an adult summer camp for those of you that really love florals! I am already looking forward to the next class I can attend. You can find a complete list of their upcoming classes HERE.
P.S. I often mention that I think red roses are cheesy. Well, the truth is, after much chatting that evening, I realized it’s not red roses I don’t enjoy (I still prefer pink), it’s red roses + baby’s breath.
No, thank you.
- 4 Comments posted in DIY, Events, Hosting
-