So I promise to keep this short & sweet because there really is not much of an explanation needed for this easy DIY craft that will surely brighten up anyone’s day (or your own!).
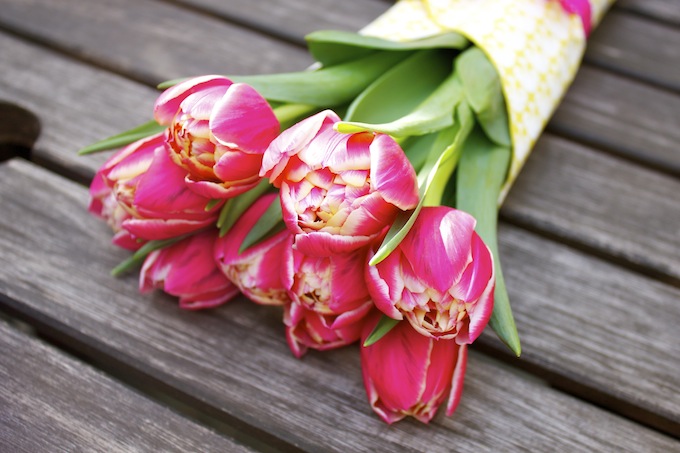
This past weekend, I enjoyed gorgeous weather and celebrated my birthday with the best friends around. While running errands, I decided to pick up some fresh tulips for our kitchen and I thought “wouldn’t these be so nice wrapped in something other than brown paper?”. So, I hopped on over to Paper Source in Georgetown and picked out a patterned paper, came home, tied it up with a pink bow and voila!
This might just be the easiest craft I’ve ever done and think about it – you could use all sorts of paper and wrapping paper themes to give these to someone as a gift. It’s all about the details. You don’t have to spend a million dollars to make someone’s day or birthday great – just go the extra step (like picking up flowers and wrapping them yourself) and I promise you it makes all the difference in the world.
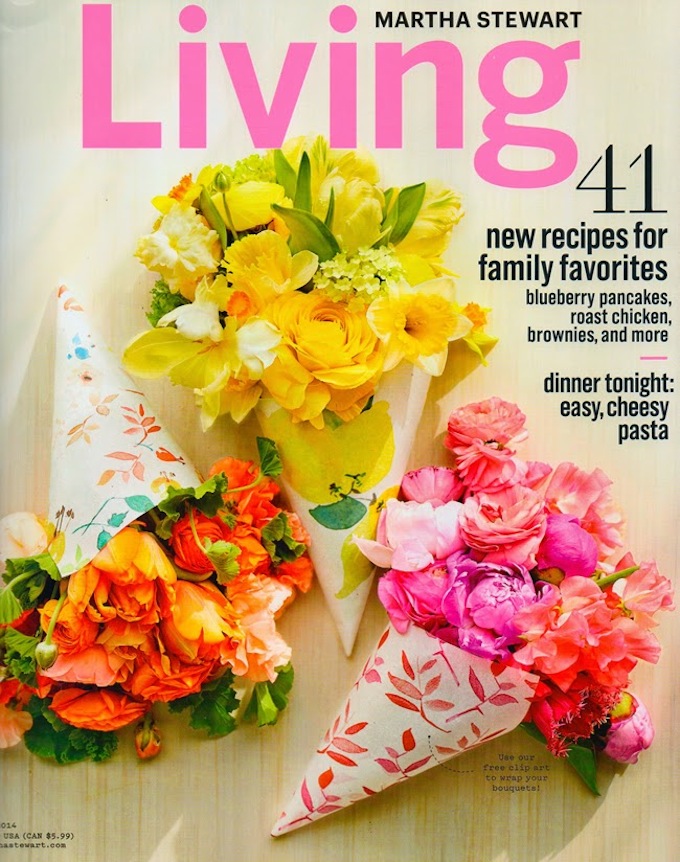
P.S. I came home to find my Martha Stewart Living magazine had arrived in the mail for May and look what’s on the cover? I think it’s safe to say – it’s fate.
Today is a big day for H&T – first, I am super excited to team up once again with one of favorite IRL (in real life) blogger friends, Julie (of Julie Leah: a life & style blog) for our “Here & There” series. Secondly, today marks my first outfit post!
I’ve always been a little hesitant to post do outfit posts or styling on H&T but when Lisi Lerch wanted to team up with the two of us; I just couldn’t resist! Perhaps this will be the beginning of these!
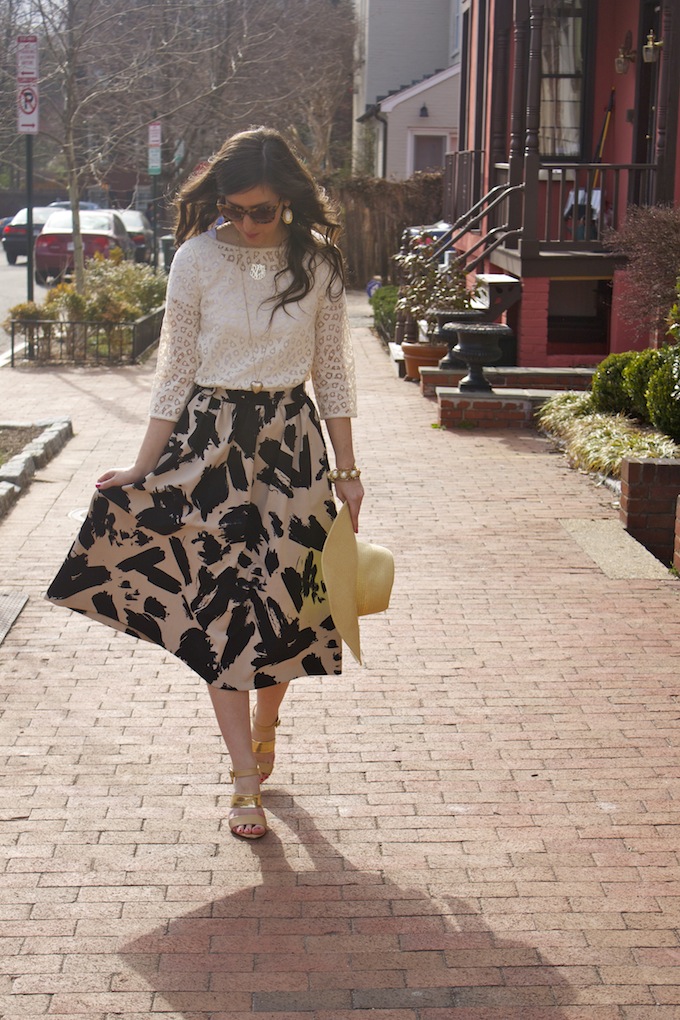
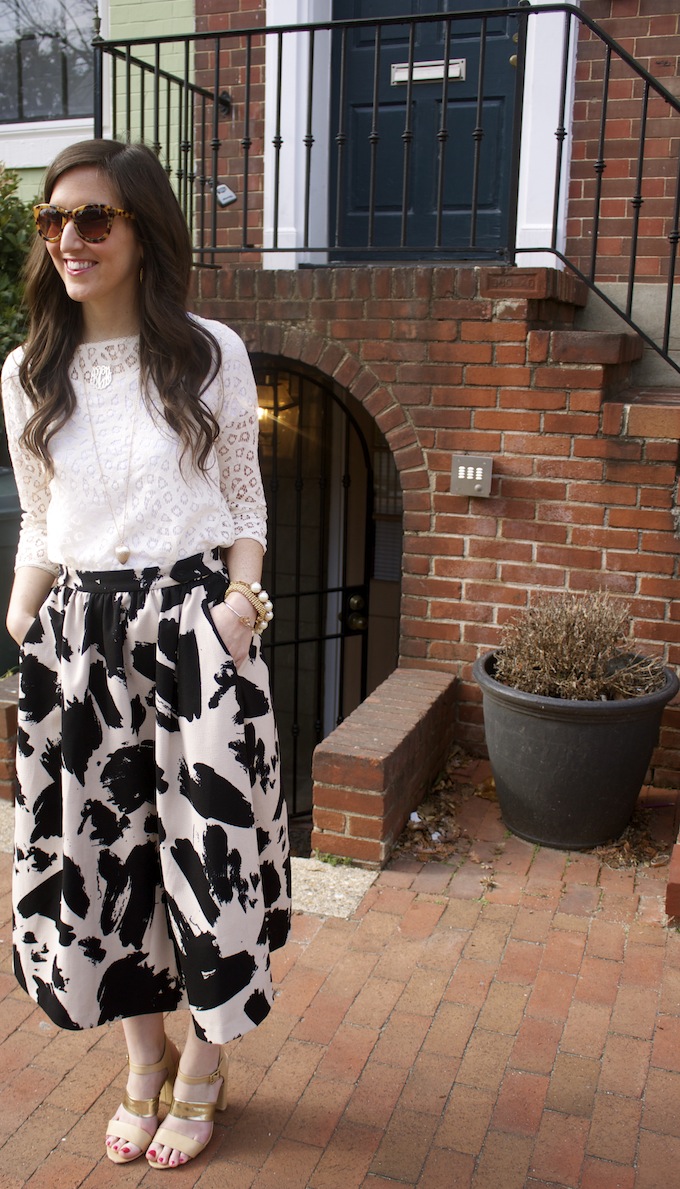
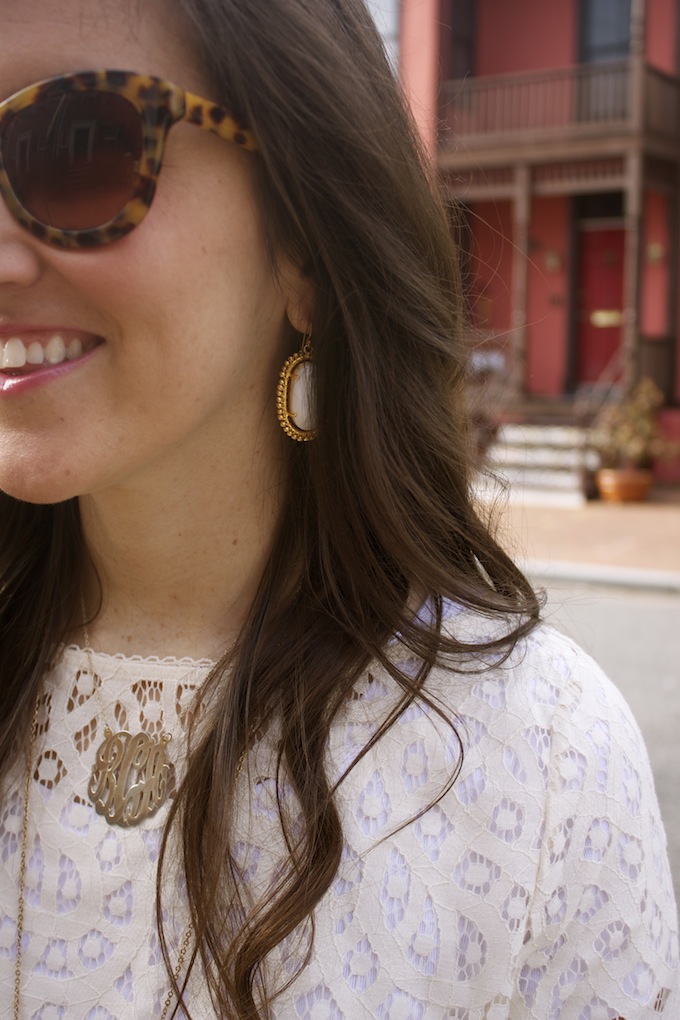
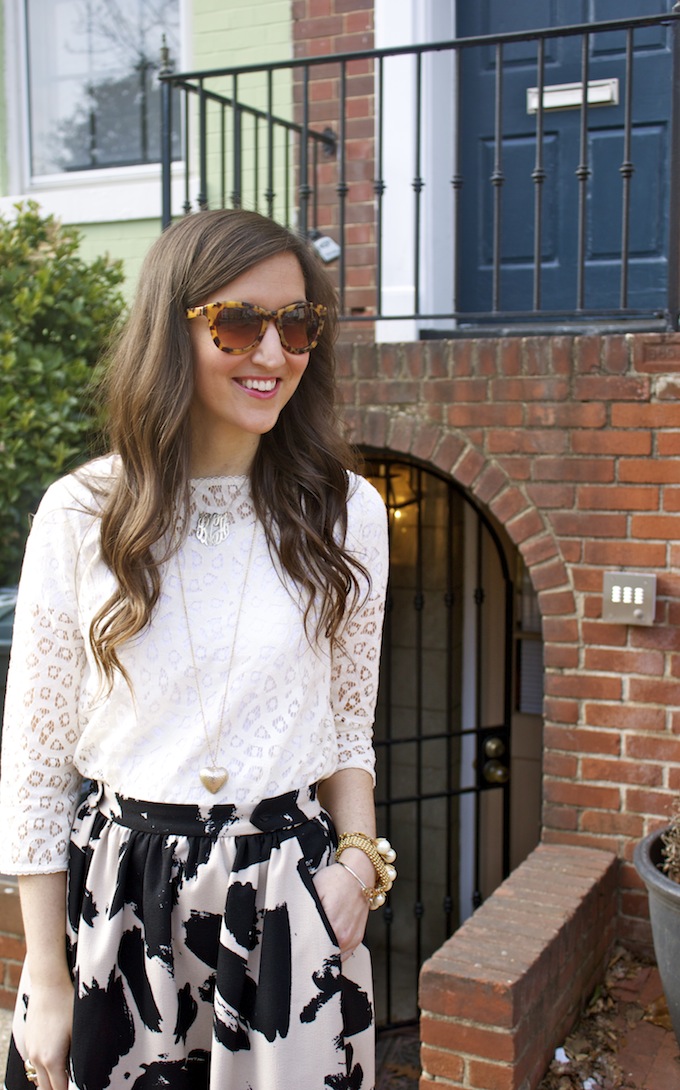
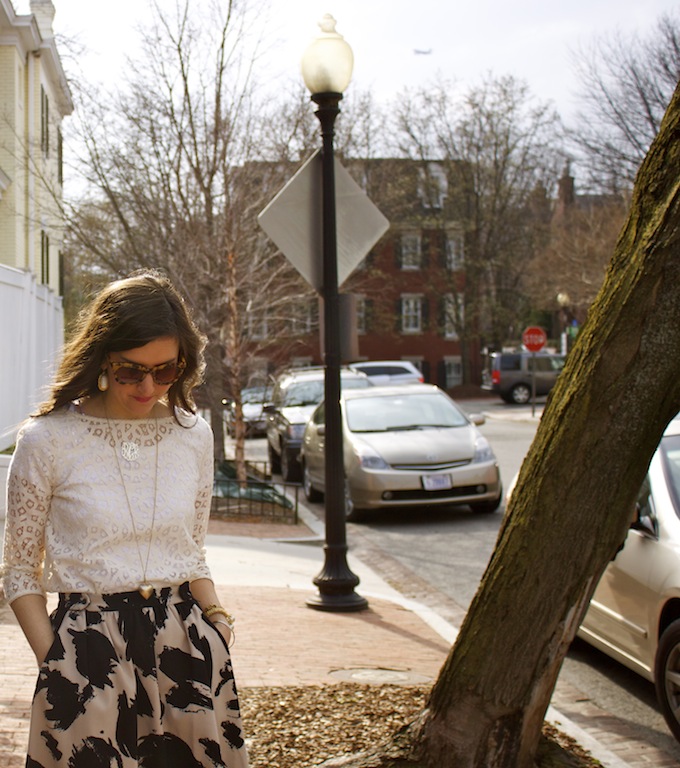
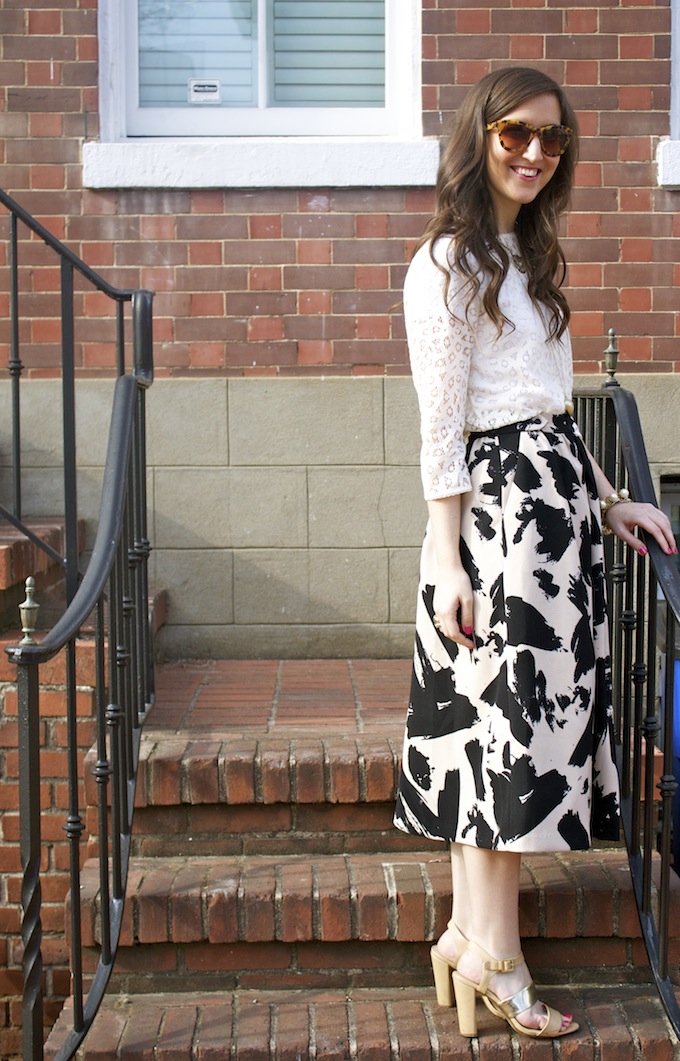
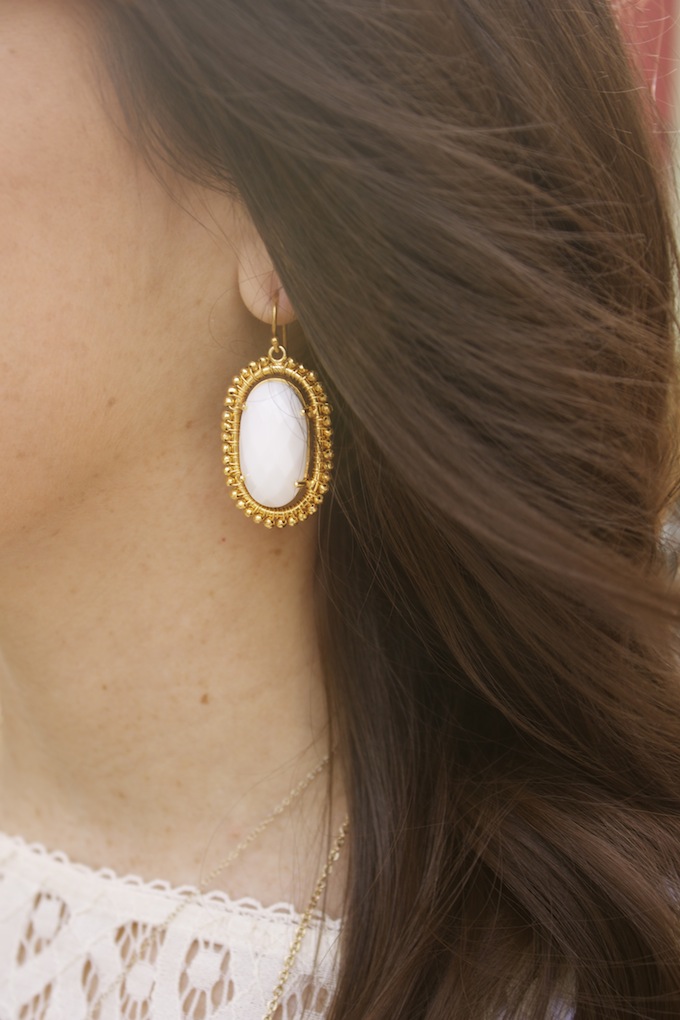
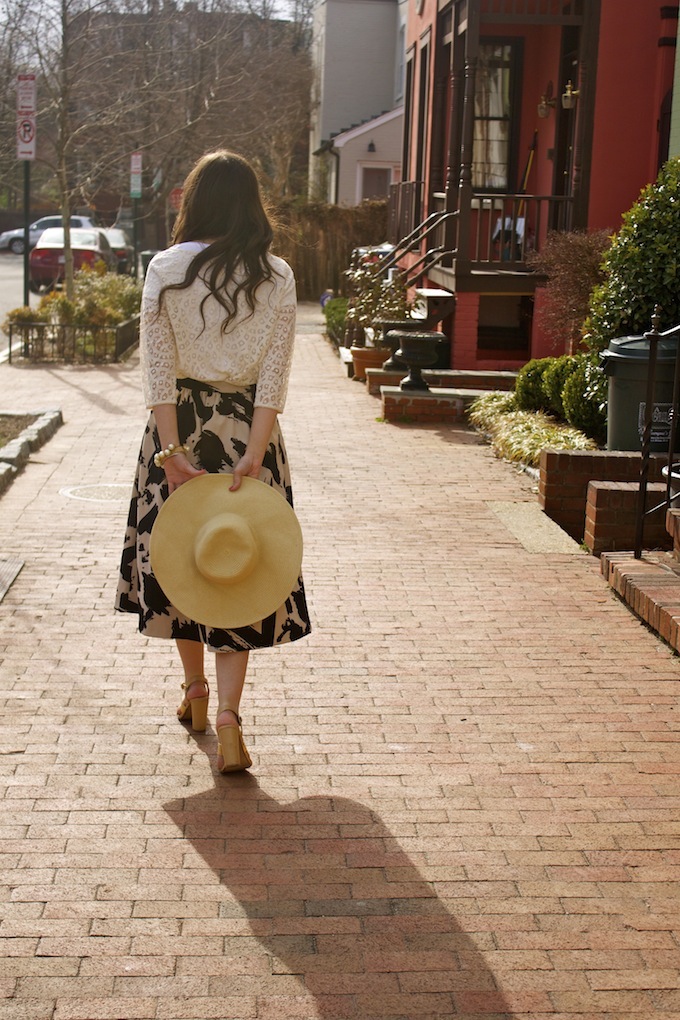
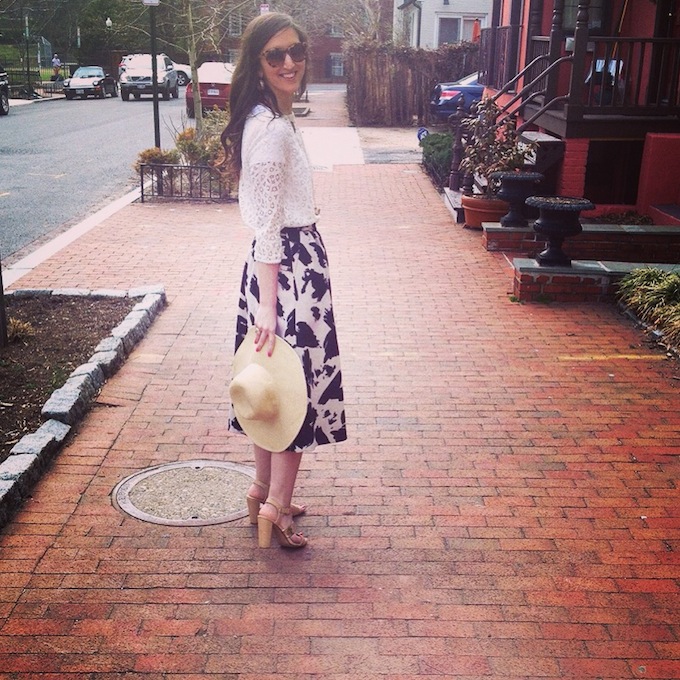
I styled a pair of earrings from their new Jenny collection in white and gold. They are so darling and really dress up any outfit. I also am super fond of the adorable tassel earrings from her line (can I have one in every color?). I paired the Jenny’s with what I would consider the perfect Spring transitional outfit (scroll down to see how you can enter our giveaway!)
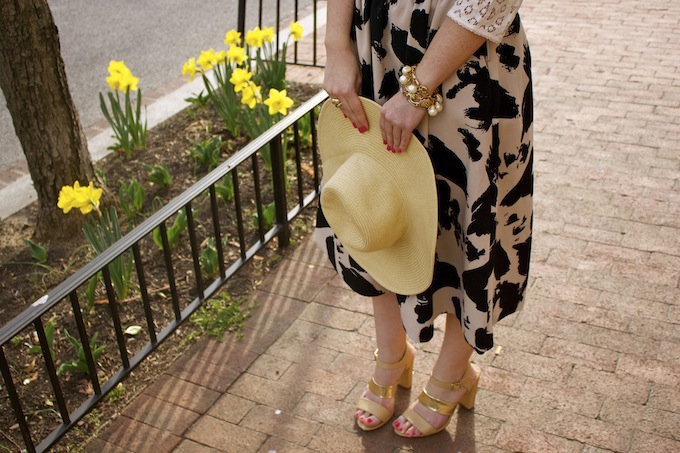
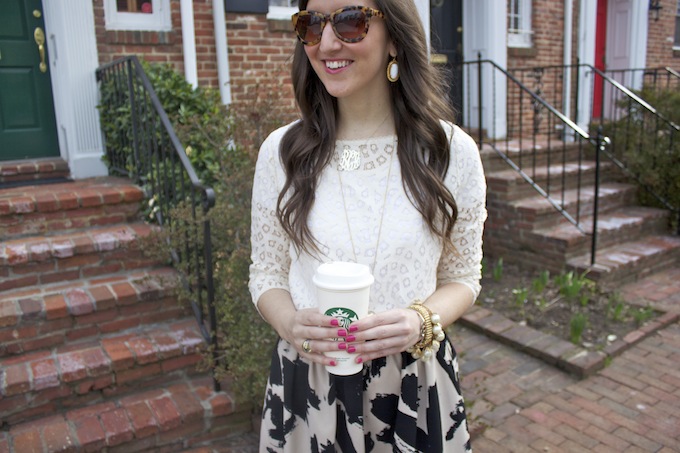
Normally by now, I am frolicking around in sundresses and sandals. However, it’s still a little chilly in DC so midi skirts have become my go-to item. A few weeks ago, I was pairing this exact skirt with black tees/crop tops, a leather jacket and leopard pumps. I switched it up a bit and wore a lace top and open toed sandals this past weekend once it finally started to feel like April.
A few weeks ago, I mentioned that I would be taking a floral design class in early April. Well, today I’m here to give you a complete recap along with some tips and tricks that I learned earlier this week!
I had reached out to Helen Olivia Flowers and their owner, Rachel, a few months ago about setting up a private workshop for my colleagues (fellow event planners) and I. Well, we could not have been more pleased with her custom evening workshop that she put together for us.
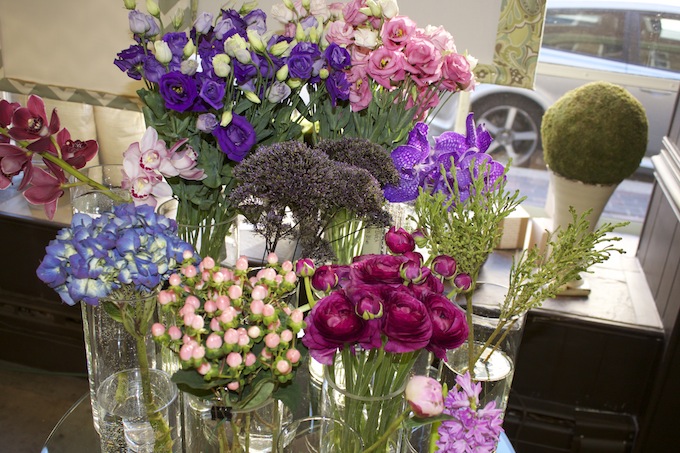
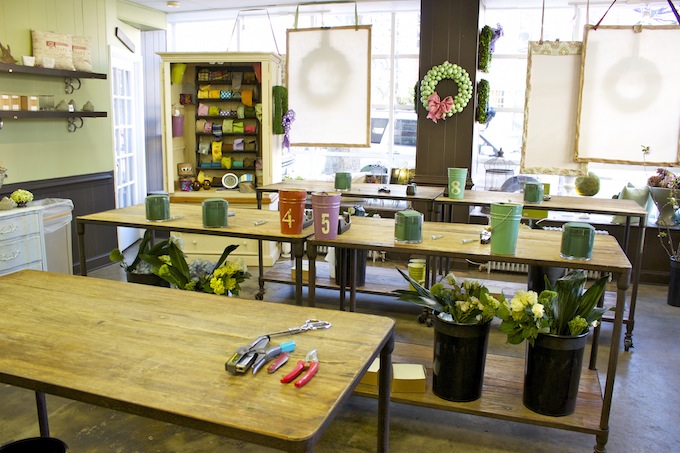
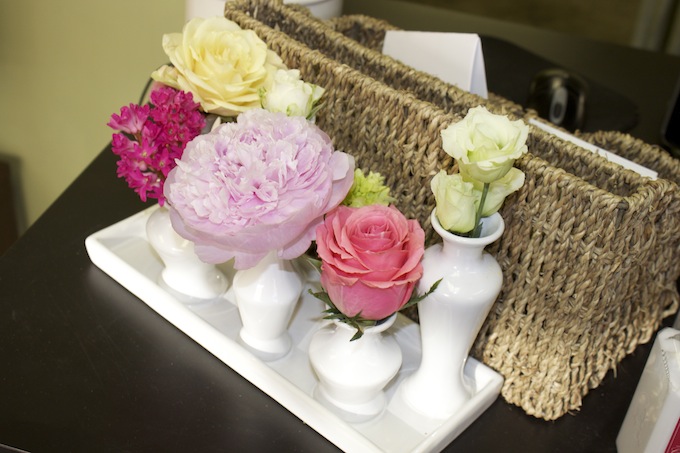
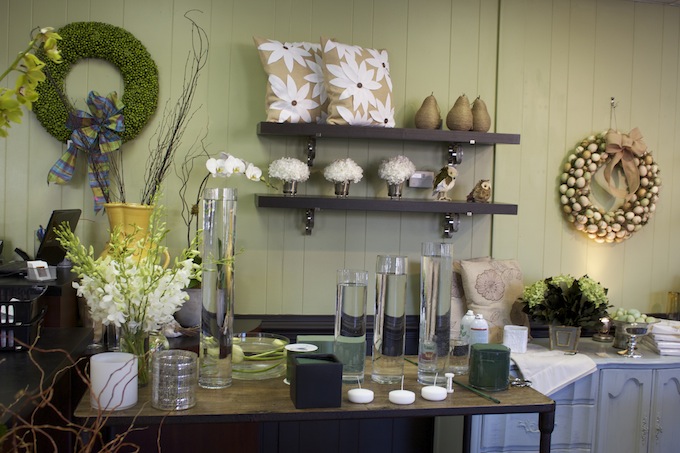
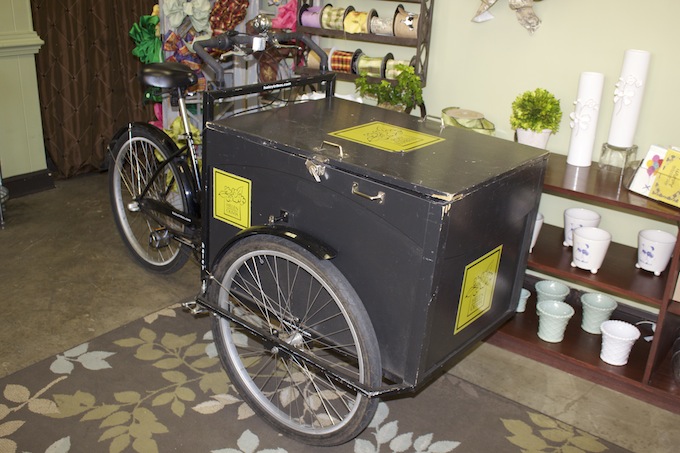
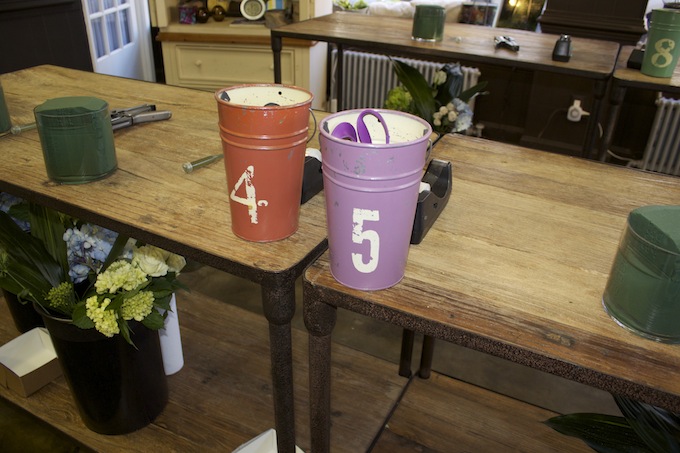
When we walked into Helen Olivia’s shop, tucked away in the quaint neighborhood of Old Town Alexandria, I was immediately in love. Big sunny open windows, floral arrangements galore, a natural “air freshner” of blooms, a “bud bar” and the most darling little numbered workshop space I’ve ever seen. I could not get enough. They even had a little bike on display (read: delivery truck). If you are ever in the area, you must stop in for a visit – you can purchase single flowers for DIY projects as well as soaps and other gifts. Helen Olivia is also known for their ribbon wrapped vases (which I learned how to do properly too).
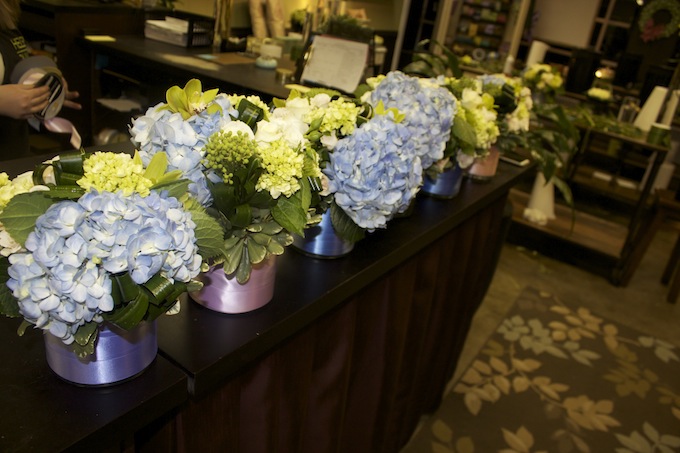
We started off the evening (after consuming far too much cheese and sparkling orange blood soda) with a few easy and quick DIY arrangements that event planners and hostesses alike could put together at home or before a big event. They look professional and polished but easy to complete for any skill level!
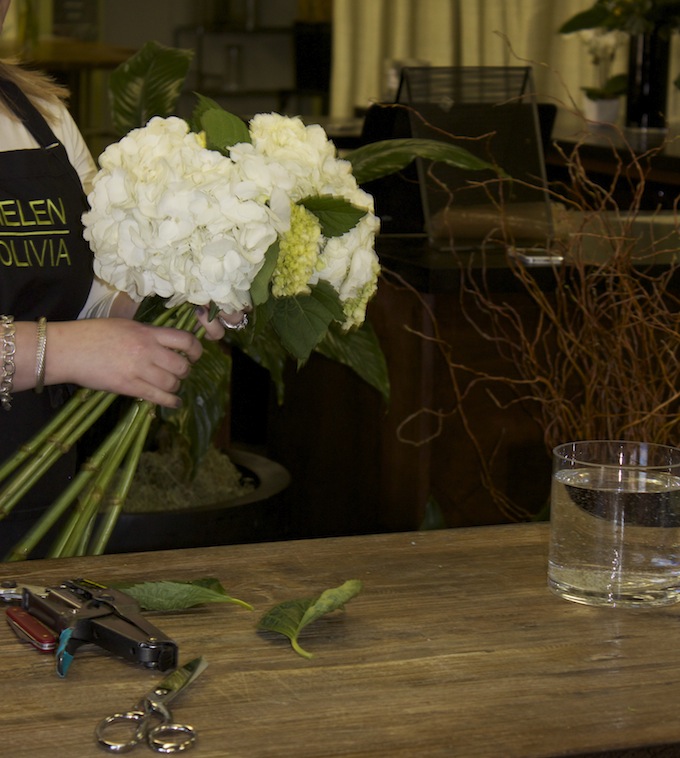
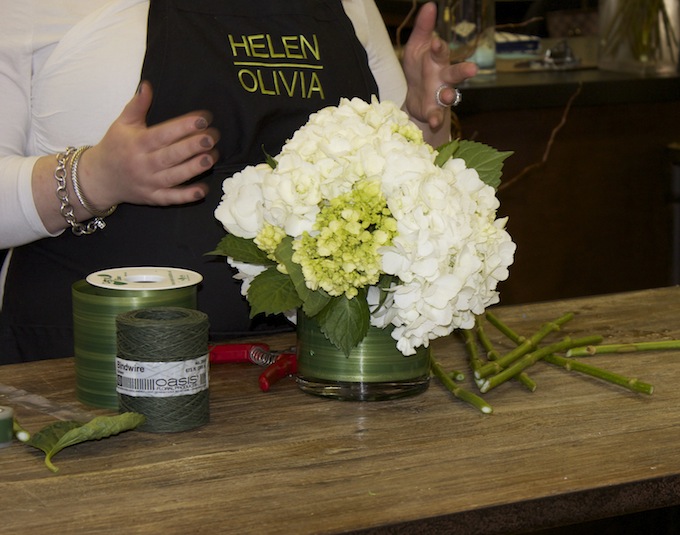
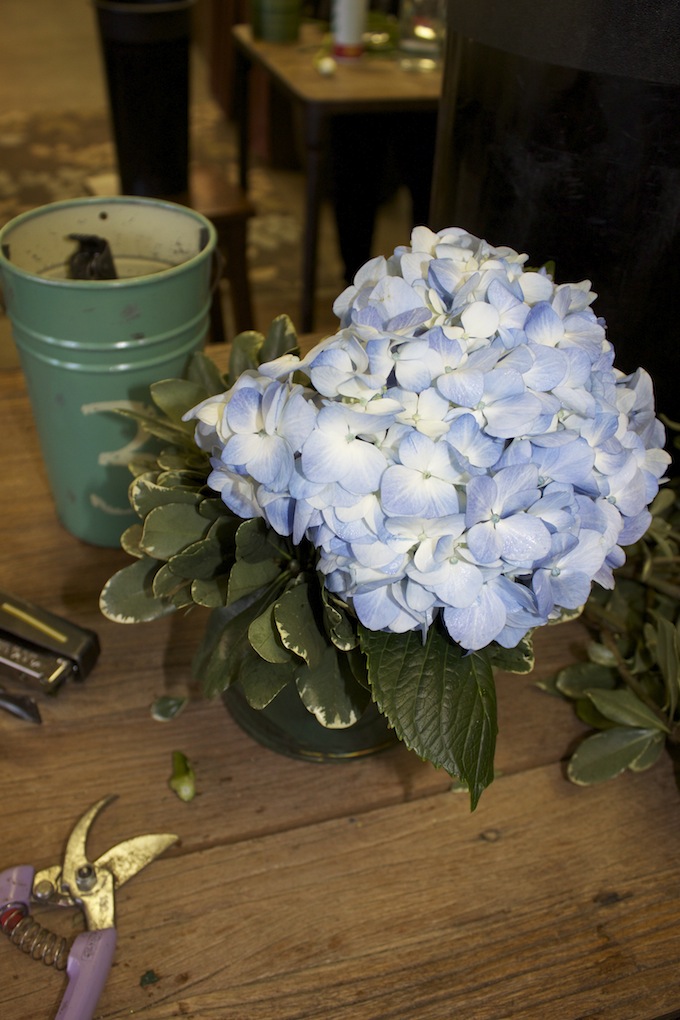
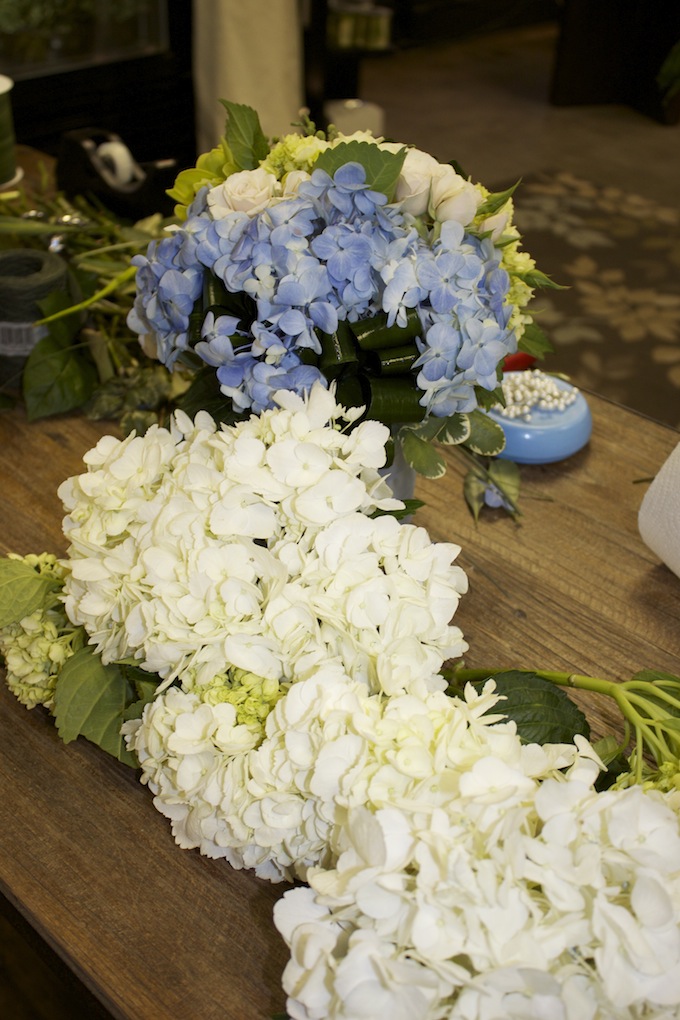
1. Hydrangeas + Hand Tying Technique
Hydrangeas can be a pain to arrange (I know, I put them together for my End of Summer Shrimp Boil last year). They are also so top heavy that they often end up falling over in a variety of vases. Well, Rachel taught us to to arrange these beauties (who’s name comes from the word “hydrate”, duh) with a hand tying technique. The key is to tie them together with bindwire or floral tape BEFORE you put them in the vase. This allows them to stand up. They were also wrapped in a leaf ribbon to cover up the floating stems in the water.
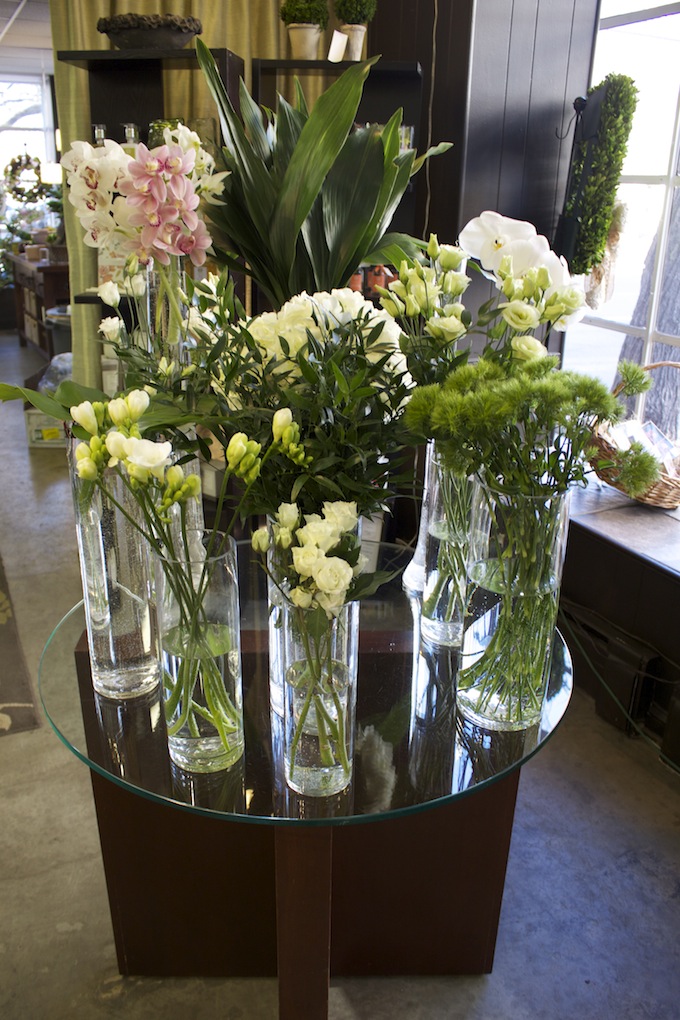
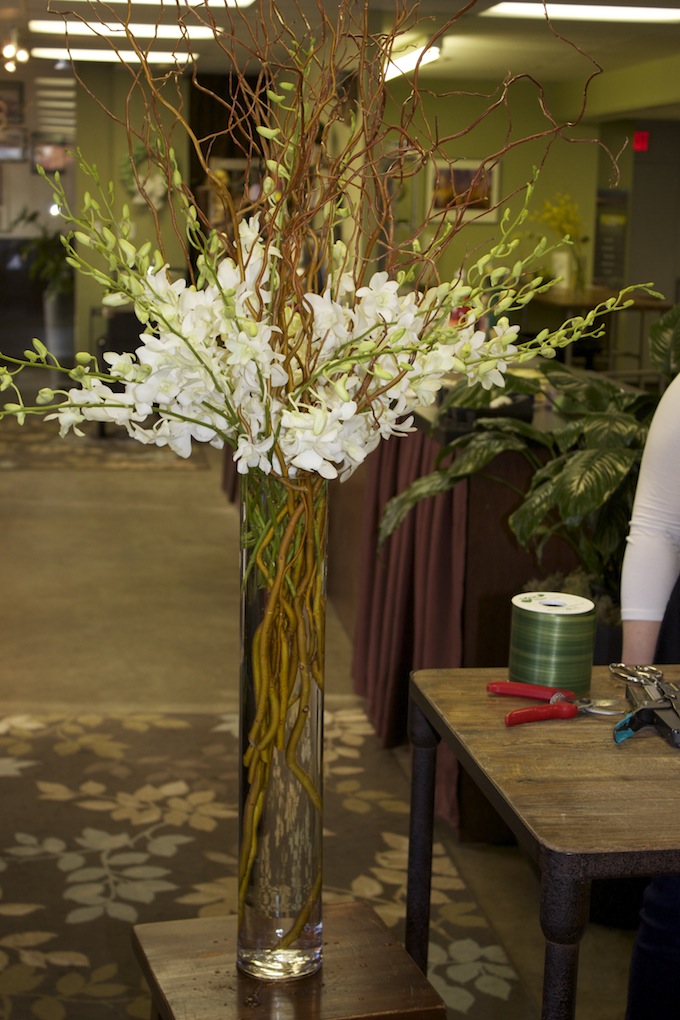
2. Tall Centerpieces
The next type of DIY arrangement we learned about was assembled with curly willow (yes, those long swirly-looking sticks have a name) and orchids. These were put into a 24 inch glass vase and are perfect for a food station or bar at an event especially when you’re on a budget. You could even add tealight candles to them for a special effect!
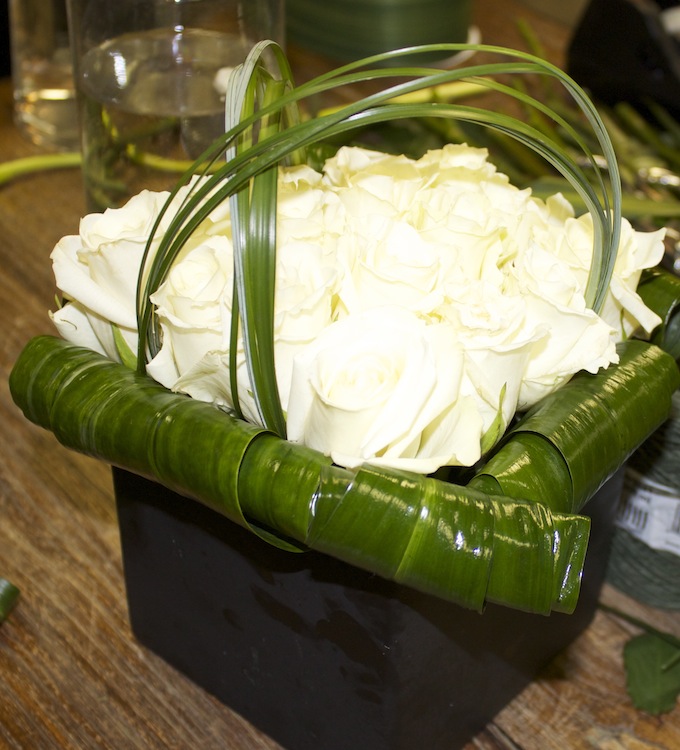
3. Pave-Style Roses
A pave-style arrangement is French for “one level”. These are my favorite item to add to cocktail tables and always look very delicate. They are also adorable to use when hosting events such as bridal and baby showers (think pink!). The roses were cut to the same level and then delicately placed in floral foam along with cigar rolled leaves for a finishing touch (and leaf polish = doesn’t hurt the leaves but makes them look super shiny!).
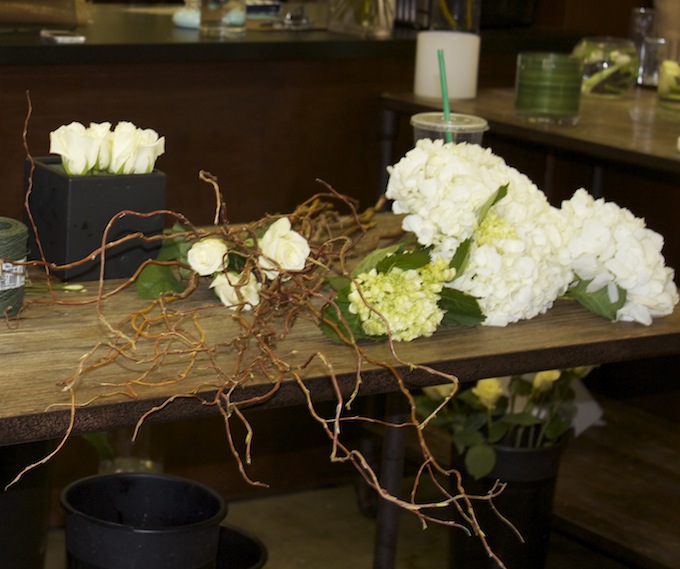
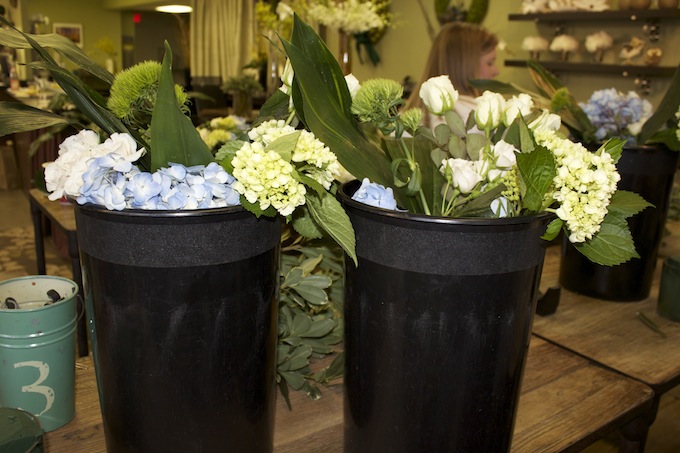
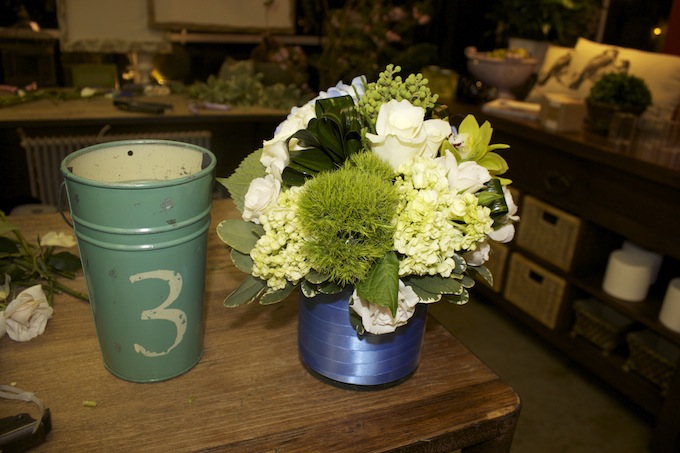
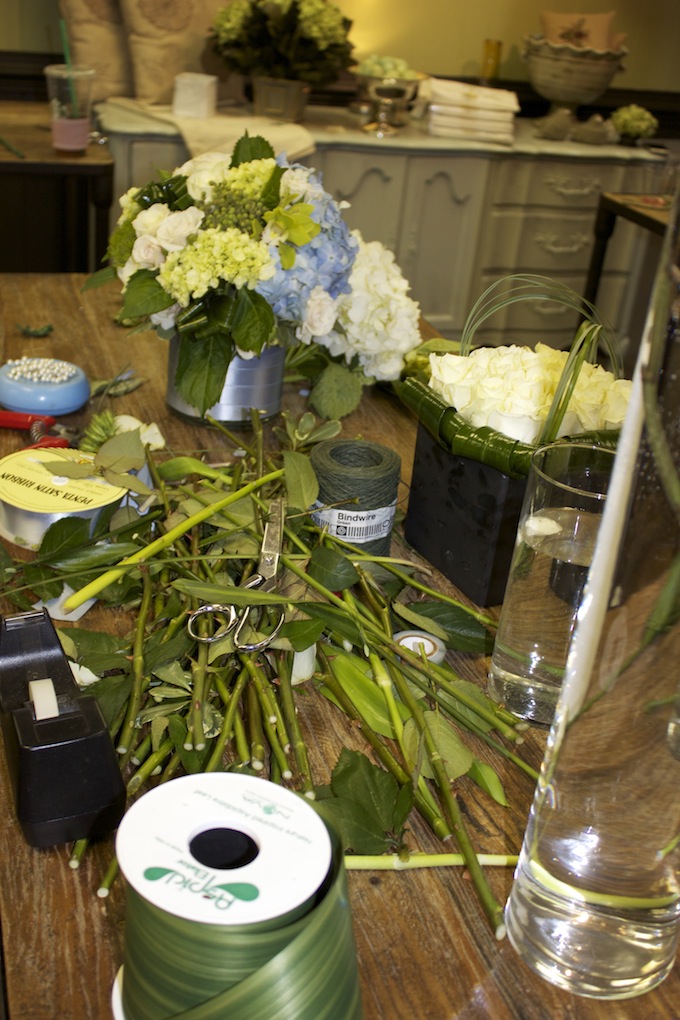
We finished the evening styling our own arrangements from large buckets of fresh blooms (my own personal dream come true). We used 5 inch cylinder vases with floral foam and water. Carefully, we placed a variety of hydrangeas, roses, greenery and the most beautiful orchid I’ve seen into our vases. We used all of Rachel’s tips and tricks for a professional-like look. One of my favorite parts of the workshop was learning how to “ribbon wrap” – which I will most certainly use in events to come. My finished product is below – not too bad, huh? It’s currently serving as a centerpiece at home to brighten up my dining room.
BEFORE
AFTER
You can see how it slowly but surely came together below after much snipping, rearranging and criticizing.
Finally, I wanted to share with you a few flower myths and tips that I learned from the evening after much Q&A with Rachel (I came with lots of questions – those that know me won’t be surprised by this at all..).
You do NOT need to cut your flowers in running water. This is a compete MYTH.
Room temperature water is ideal for flowers. It makes no difference if it’s filtered or tap water.
You must cut stems at an angle and regularly. The white part that shows is call the pit and this is where the flowers drink up!
Do not use regular scissors to cut your stems. Ideally, it’s best to use shear spring-loaded tools.
The more leaves you cut off, the more water goes to your actual blooms. This is something to keep in mind to make them last longer.
When you buy flowers from a grocery store, they are already dehydrated – a good tip with hydrangeas is to submerge the head under luke warm water for 30 minutes after purchasing to re-hydrate them. If you ever have part of a hydrangea that “dies” before the other, it’s likely you hit a “nerve” (literally) when cutting the stems.
Your flowers should be around the same height as your vase.
Invest in floral tape – it’s super cheap!
You can use a tape grid to arrange stubborn flowers (yes, scotch tape). All you have to do is tape a design over your vase and hide it with a little greenery here and there.
Most roses come with an outer layer on that are not petals but look like them. Peel those off!
Also, and this might be the best tip ever – BLOW on your roses. They open up right away and look much more pleasing to the eye for arrangements.
If you live in the DC area, Helen Olivia comes highly recommended by yours truly for both arrangements and workshops.They offer numerous classes throughout the year (I want to attend the peonies one!) and also do baby showers, hands-on bridal shower parties and even an adult summer camp for those of you that really love florals! I am already looking forward to the next class I can attend. You can find a complete list of their upcoming classes HERE.
P.S. I often mention that I think red roses are cheesy. Well, the truth is, after much chatting that evening, I realized it’s not red roses I don’t enjoy (I still prefer pink), it’s red roses + baby’s breath.
I often get asked by friends and readers about, (no shock here), “hosting”, entertaining and general advice when it comes to party planning, gifts and the like. Some of the most common questions revolve around tips, must-have items that you can use over and over and of course, budgeting.
Because of this, I have decided to start posting commonly asked questions in a little “Ask BAC” format. So if you have questions – please send them my way (bac@hostingandtoasting.com)! I will pick frequently asked ones and post about them each month.
First up, I know that entertaining as a whole can be a little intimidating. You may not be the best chef (neither am I!), have the creative mind of a Pinterest board or have an apartment the size OF a dining room table instead of an apartment WITH one. So, I thought I would share with you my top 15 items to have for beginners (in no particular order).
1. An Apron – This one is pretty much a no-brainer, however, if you don’t fully know why, you can read more about my adventures HERE. Below are a few I am loving.
2. Matching Set of Wine Glasses & Flutes (suggested for 8) – You will break one or two (or three if you’re me) – you should always have a set for a number you’re comfortable entertaining for plus a few extra. 8 is a good number to start.
3. Vases – Whether it be mason jars or glass ones that came with your Valentine’s Day delivery, hold on to vases. Also, don’t be afraid to get creative with it and use items that aren’t ordinarily a “vase” (glass carafes work too – see below).
4. Serving Tray or Large Dish -This is pretty self explanatory but it’s good to have one or two of these for drinks or menu items if you’re hosting a dinner. I’d also recommend investing in a custom lucite tray. I love my large one below custom from Pretty Smitten.
5. Matching Set of White Plates – The same rule applies for these as for the glasses (although you’re probably less likely to break these).
6. A Favorite Cookbook, an app on your phone or the number of a good restaurant – Everyone needs a little guidance in the kitchen.
7. Oven Mitts – Don’t get burned (a few faves below).
8. Tealight Candles and Matches (or a lighter in my case) – I think non-scented works best for dinner tables and around the house. You can light these and put them in jars or candle holders. Also, I am afraid of matches (yep, I wish I could use cute ones like these), so I rely on a candle lighter.
9.Ice Bucket – Perfect for chilling wine, bubbly, beers or water – I have a few of these in different sizes in silver.
10. A Universal Tablecloth – Everyone needs a go-to tablecloth that can use on multiple occasions. No matter what size, be sure to have something that fits your table and goes with everything. It should also be machine washable.
11. Your Own Signature Dish – This must be your go-to when cooking for friends or serving appetizers too. Something that is your no-fail dish that’s also a hit among guests. For me, I make a mean risotto, among others.
12. A Healthy Sense of Humor – May I remind you WHY again?
13. Grace Under Pressure – As an event planner, this is also one of the most important parts of my job. It’s also something to maintain when hosting and entertaining for others. No one wants to see the person in charge flip out or in this case, the person, hosting, have a melt down.
14. A Carafe – A WHAT? A carafe is an open-topped glass flask typically used for serving wine or water. You can also use for juice bars, mimosas and yes, as a vase. I have a few of these in my cabinets and they’re super affordable too ($4.99 at World Market).
15. Bottle of Bubbly – If all else fails, you should know how to put this one to good use. Cheers!
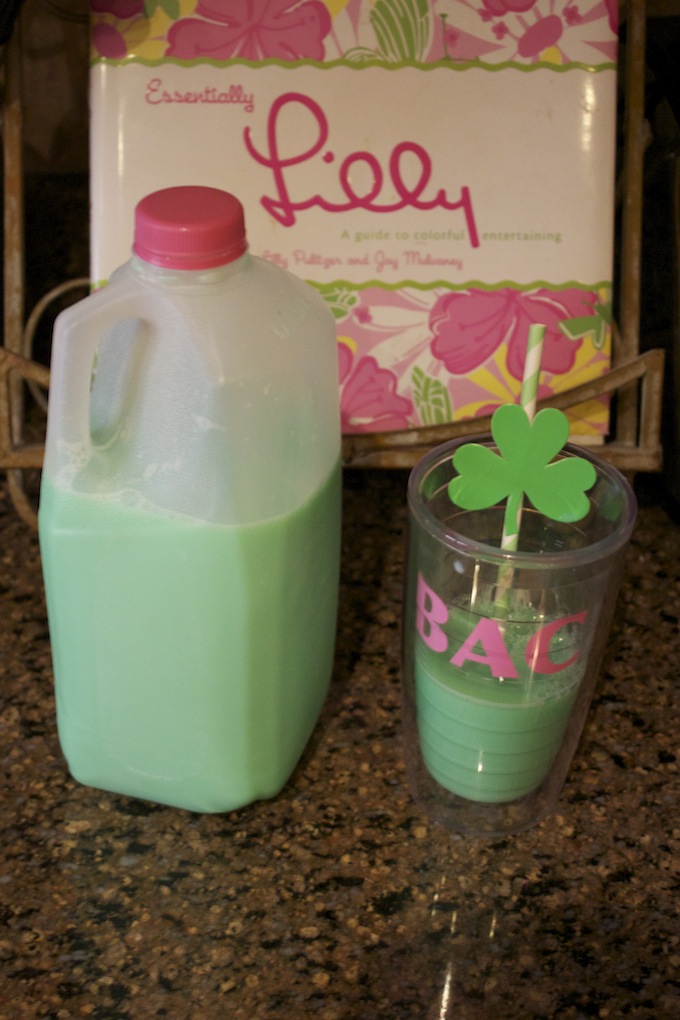
When I was growing up, I had a strong dislike for the little Irish Blessings that scattered across my fair-skinned face…also known as freckles. In an effort to make me feel better, my dad told me they were “angel kisses”. However, there was one day a year when I LOVED my freckle face and that day was March 17th. I woke up in the morning to green milk in my cereal and green freckles on my face – a la a leprechaun, of course.
This is a family tradition that still takes place every March 17th complete with corned beef and cabbage plus my grandmother’s homemade Irish soda bread for dinner. Delish!
I, too, keep the tradition alive now that I live on my own with green milk in our fridge (although I think the leprechaun realizes I can’t go to work with “green freckles” so those no longer appear across my cheeks as funny as that would be).
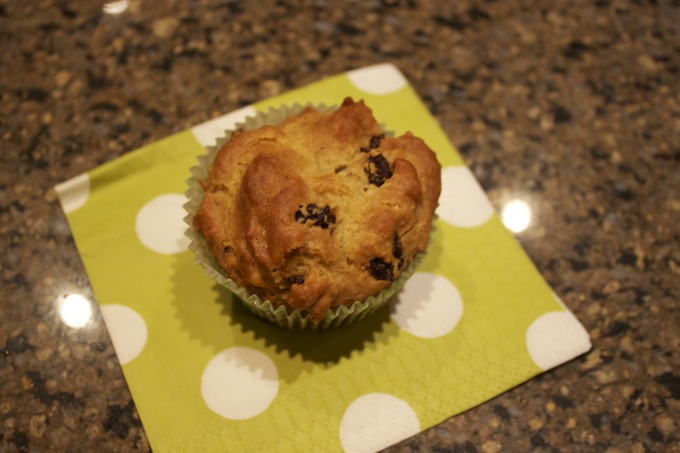
This weekend, I celebrated a little of my Irish heritage by whipping up some new recipes. I haven’t been able to enjoy Irish soda bread in a few years (due to my gluten allergy) so I finally decided to perfect my own gluten free version. I looked at many recipes online and couldn’t quite find one I liked so I took a few, combined, substituted and made my own (fingers crossed – it worked!). I also wanted to be able to make them into muffins so I could grab and go in the morning or with dinner.
I’m the first to admit that gluten-free bread recipes are often terrible (I avoid GF breads normally at all costs because of this) but these muffins are pretty darn good and the raisins add just the perfect amount of sweetness. Serve with butter or jam and you’re all set!
BAC GF Irish Soda Muffins:
Ingredients:
2 cups of Pamela’s Gluten Free Flour/Baking Mix
1 teaspoon of baking powder
1 teaspoon of baking soda
1 teaspoon of sea salt
2 eggs
1/3 cup of vegetable oil
1/2 cup of buttermilk
1 tablespoon of mayo
1/2 teaspoon of almond extract
1 cup of raisins
Directions:
Preheat oven to 375 degrees.
Combine all dry ingredients in a bowl and whisk.
Add in beaten eggs, oil, mayo, buttermilk and almond extract and mix (batter will be thick).
Stir in raisins and spoon into 12 muffin tins.
Bake for 21 minutes.
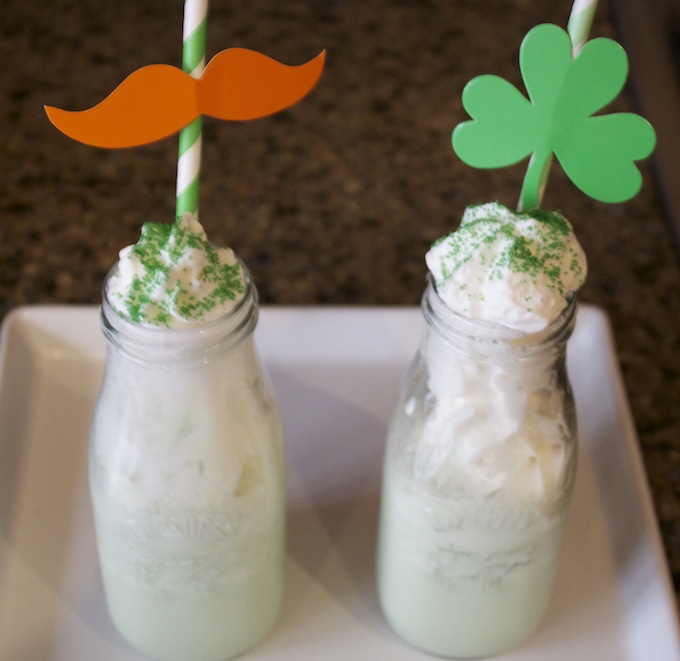
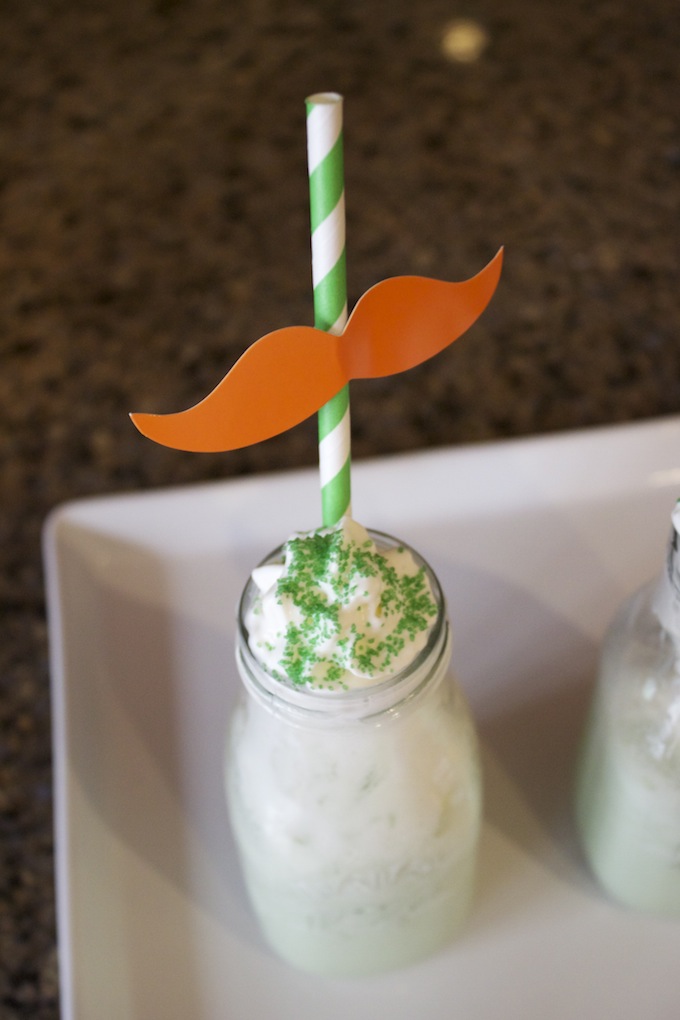
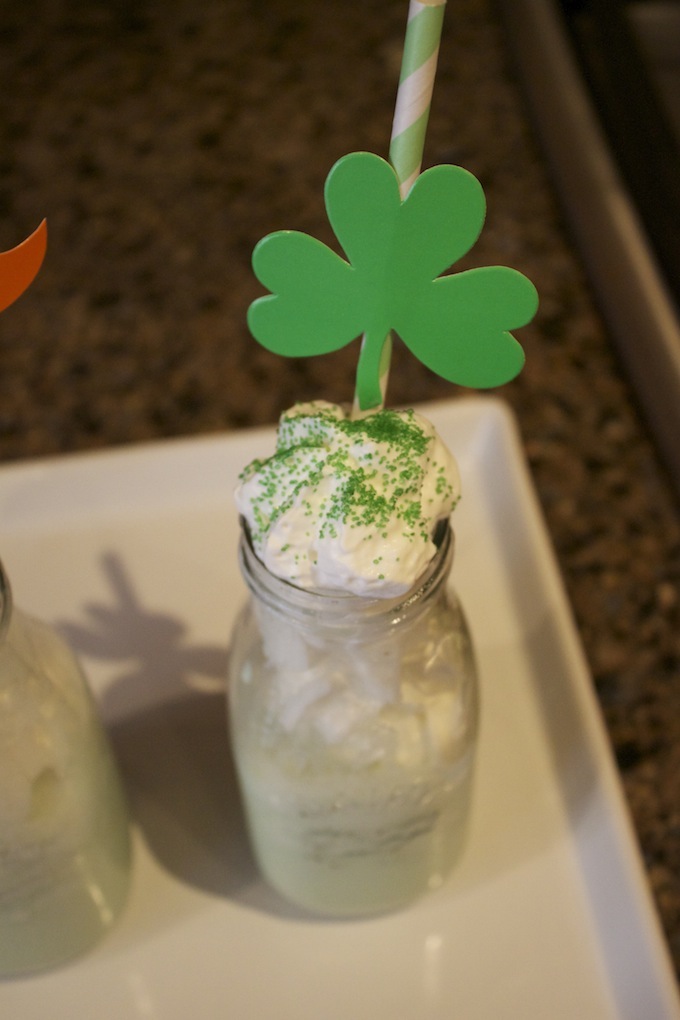
For dessert on Sunday evening, I also made Irish Cream Milkshakes for my roomate and I. This recipe is super easy and if you really want to get into the “Irish spirit” and kick it up a notch – add in some #boozy Bailey’s!
BAC Irish Cream Milkshakes
Ingredients:
1 cup of GREEN skim milk
2 cups of light vanilla ice cream
few splashes of irish cream creamer
whipped cream
green sprinkles
festive straws & milk bottles (optional)
Directions:
Blend together milk, ice cream and creamer.
Top with whipped cream and sprinkles.
Enjoy!
Thankfully, I’ve since learned to embrace my freckles and auburn hair that appear every summer.